Obsolete
This guide is mostly obsolete, as both the platform and the ui has changed in parts. Additionally, the platform is undergoing overhauls that will simplify much of this guide Expect a new comprehensive guide in the future
Obsolete
This guide is mostly obsolete, as both the platform and the ui has changed in parts. Additionally, the platform is undergoing overhauls that will simplify much of this guide Expect a new comprehensive guide in the future
This guide is your starting point for using the Flowcore platform. Whether you’re a beginner or an experienced user, it provides insights and tips to help you navigate Flowcore with confidence and make the most of its versatile features.

Here we will explore how organizations function within the Flowcore platform and how to set up your own organization.
Organizations on Flowcore are publicly accessible, and users can browse existing organizations to learn more about them, including their:
To log in, go to www.flowcore.io and navigate to the top right corner.
Log in using your GitHub account credentials.
GitHub
If you don’t have a GitHub account, you can click here if you need a guide on how to set one up.
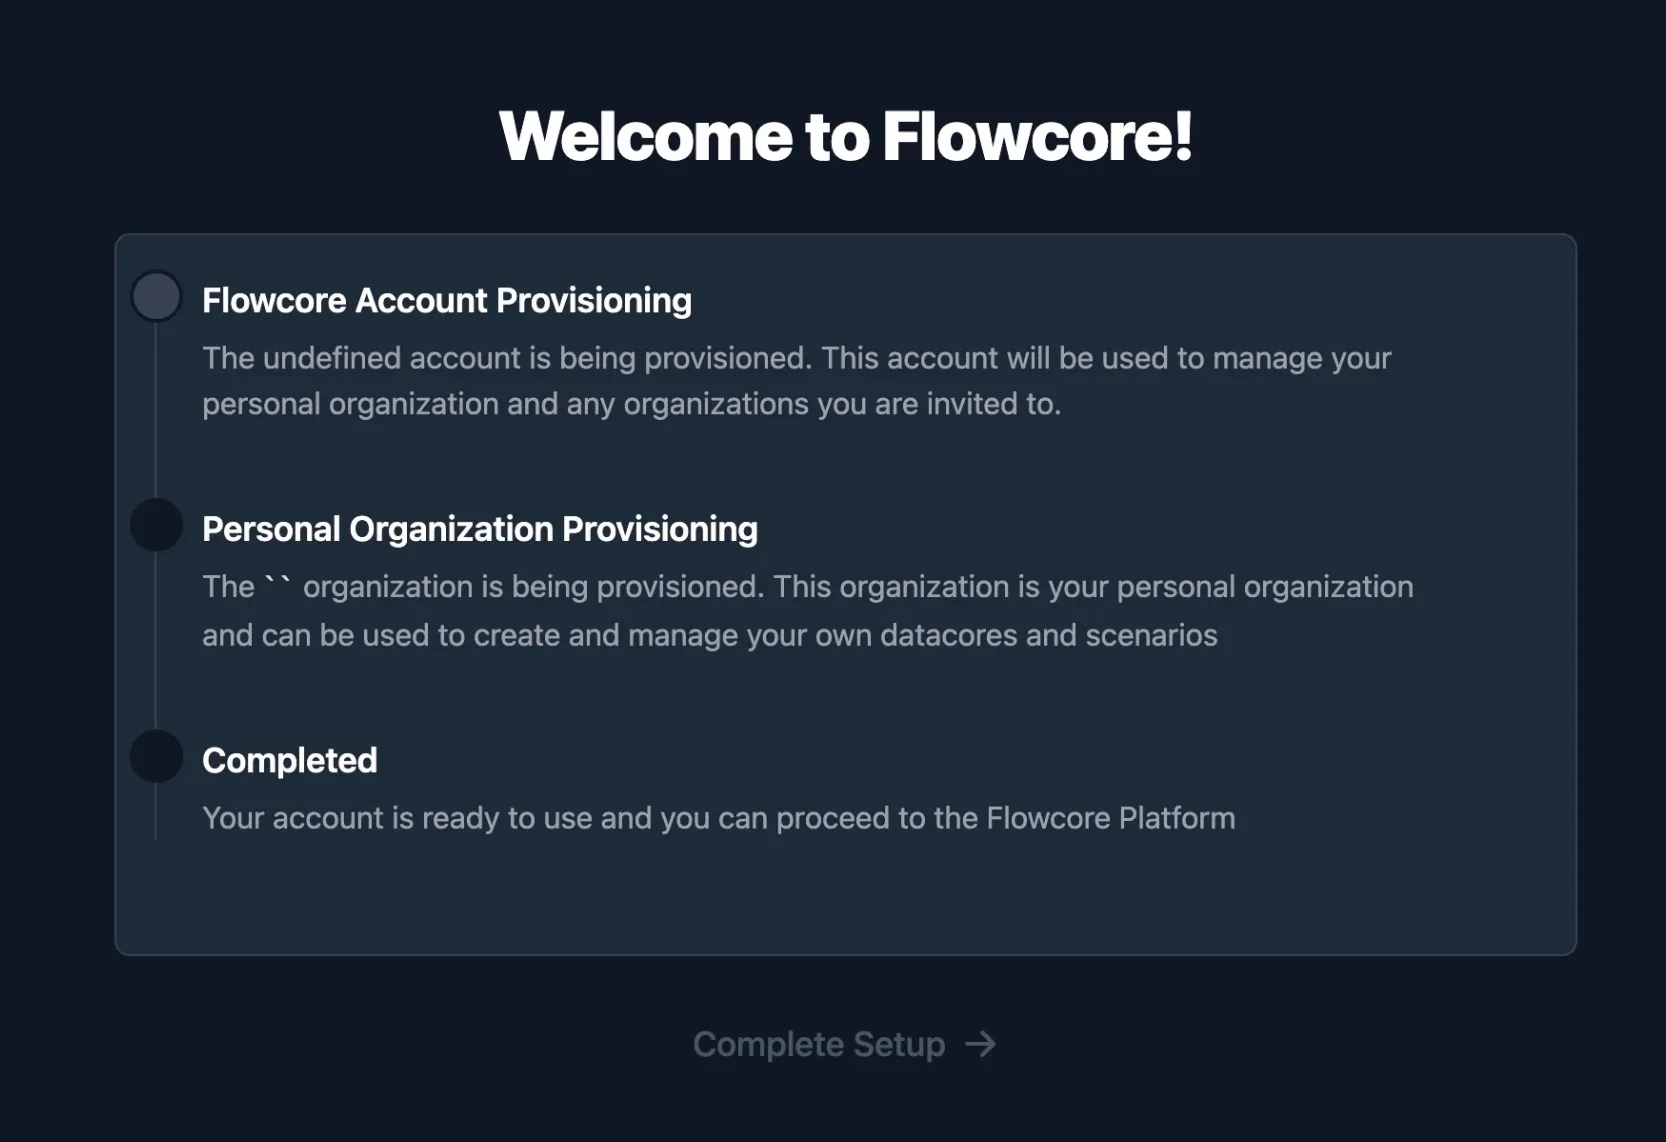
If you are logging in for the first time, you may encounter a setup page - just leave it do its thing, and press continue once it is done; it is simply there to configure your new account.
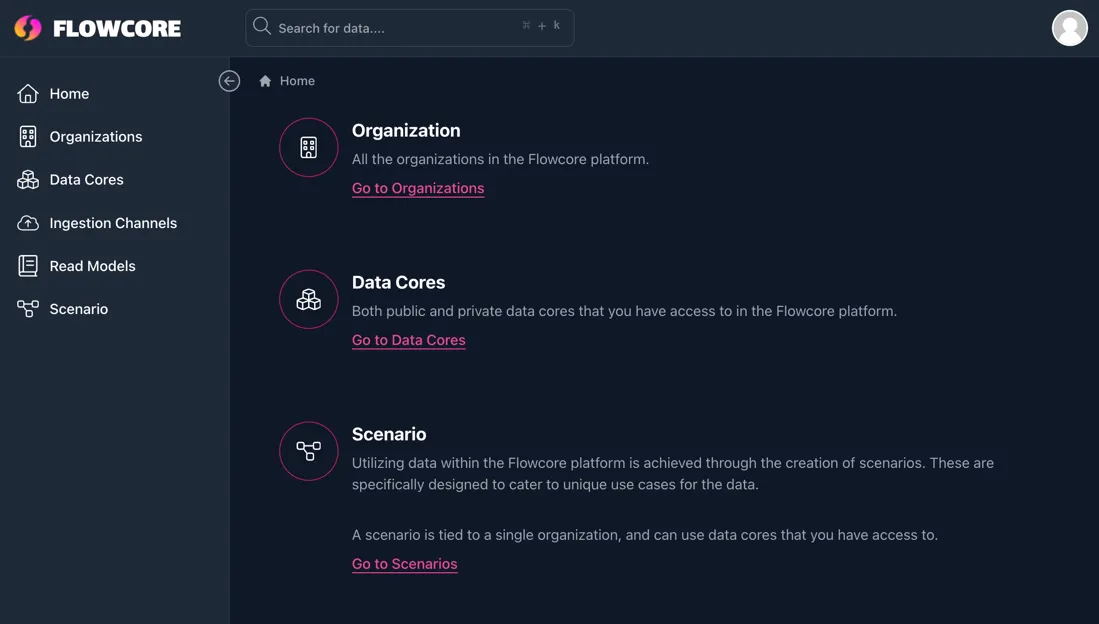
After you’ve logged in, you should see the flowcore dashboard:
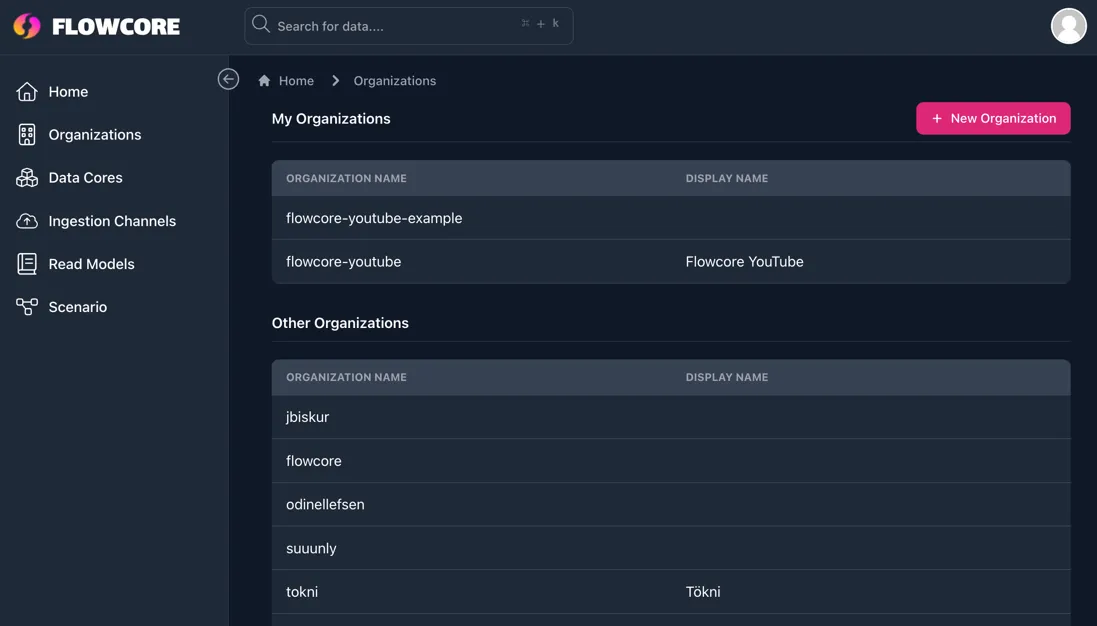
Once logged in, you can navigate to your organizations on the panel on the left-hand side of the page.
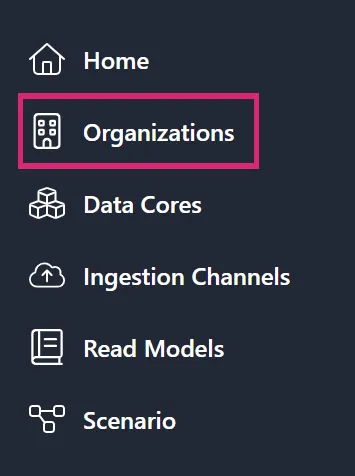
Here you will be shown a collection of your organizations, as well as other organizations on the platform. Select your organization:
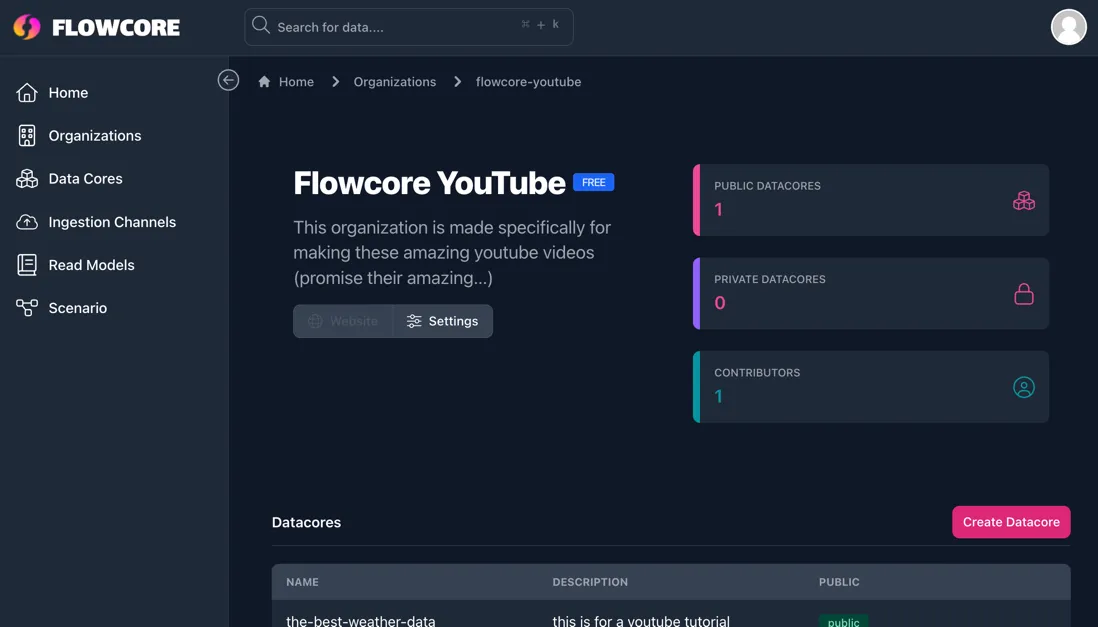
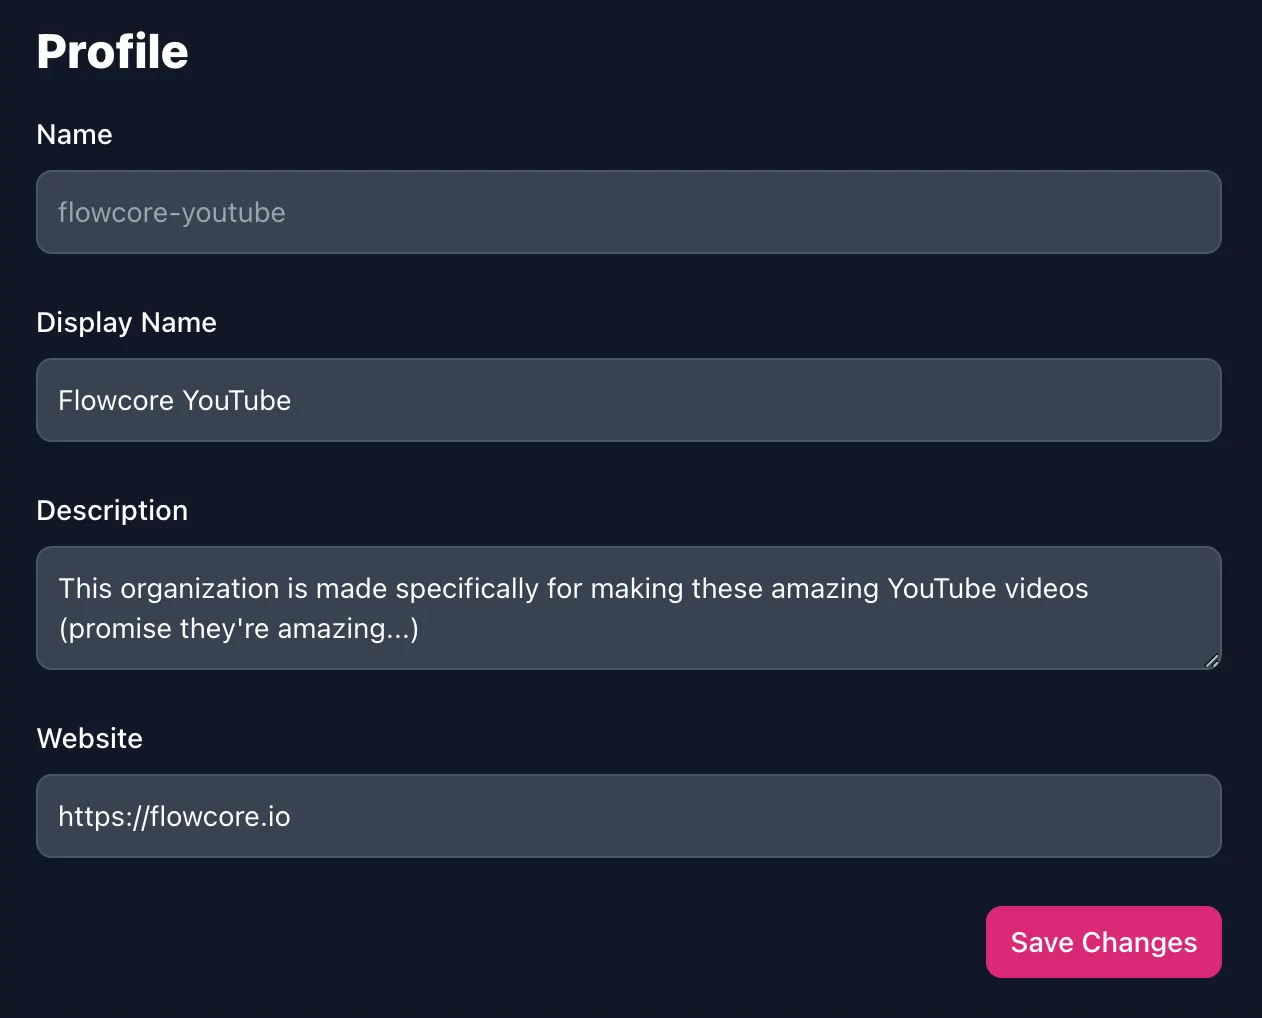
From here you can customize your organization, by pressing the Settings button, allowing you to:
Flowcore offers different tiers of service, with varying features and pricing. These plans include:
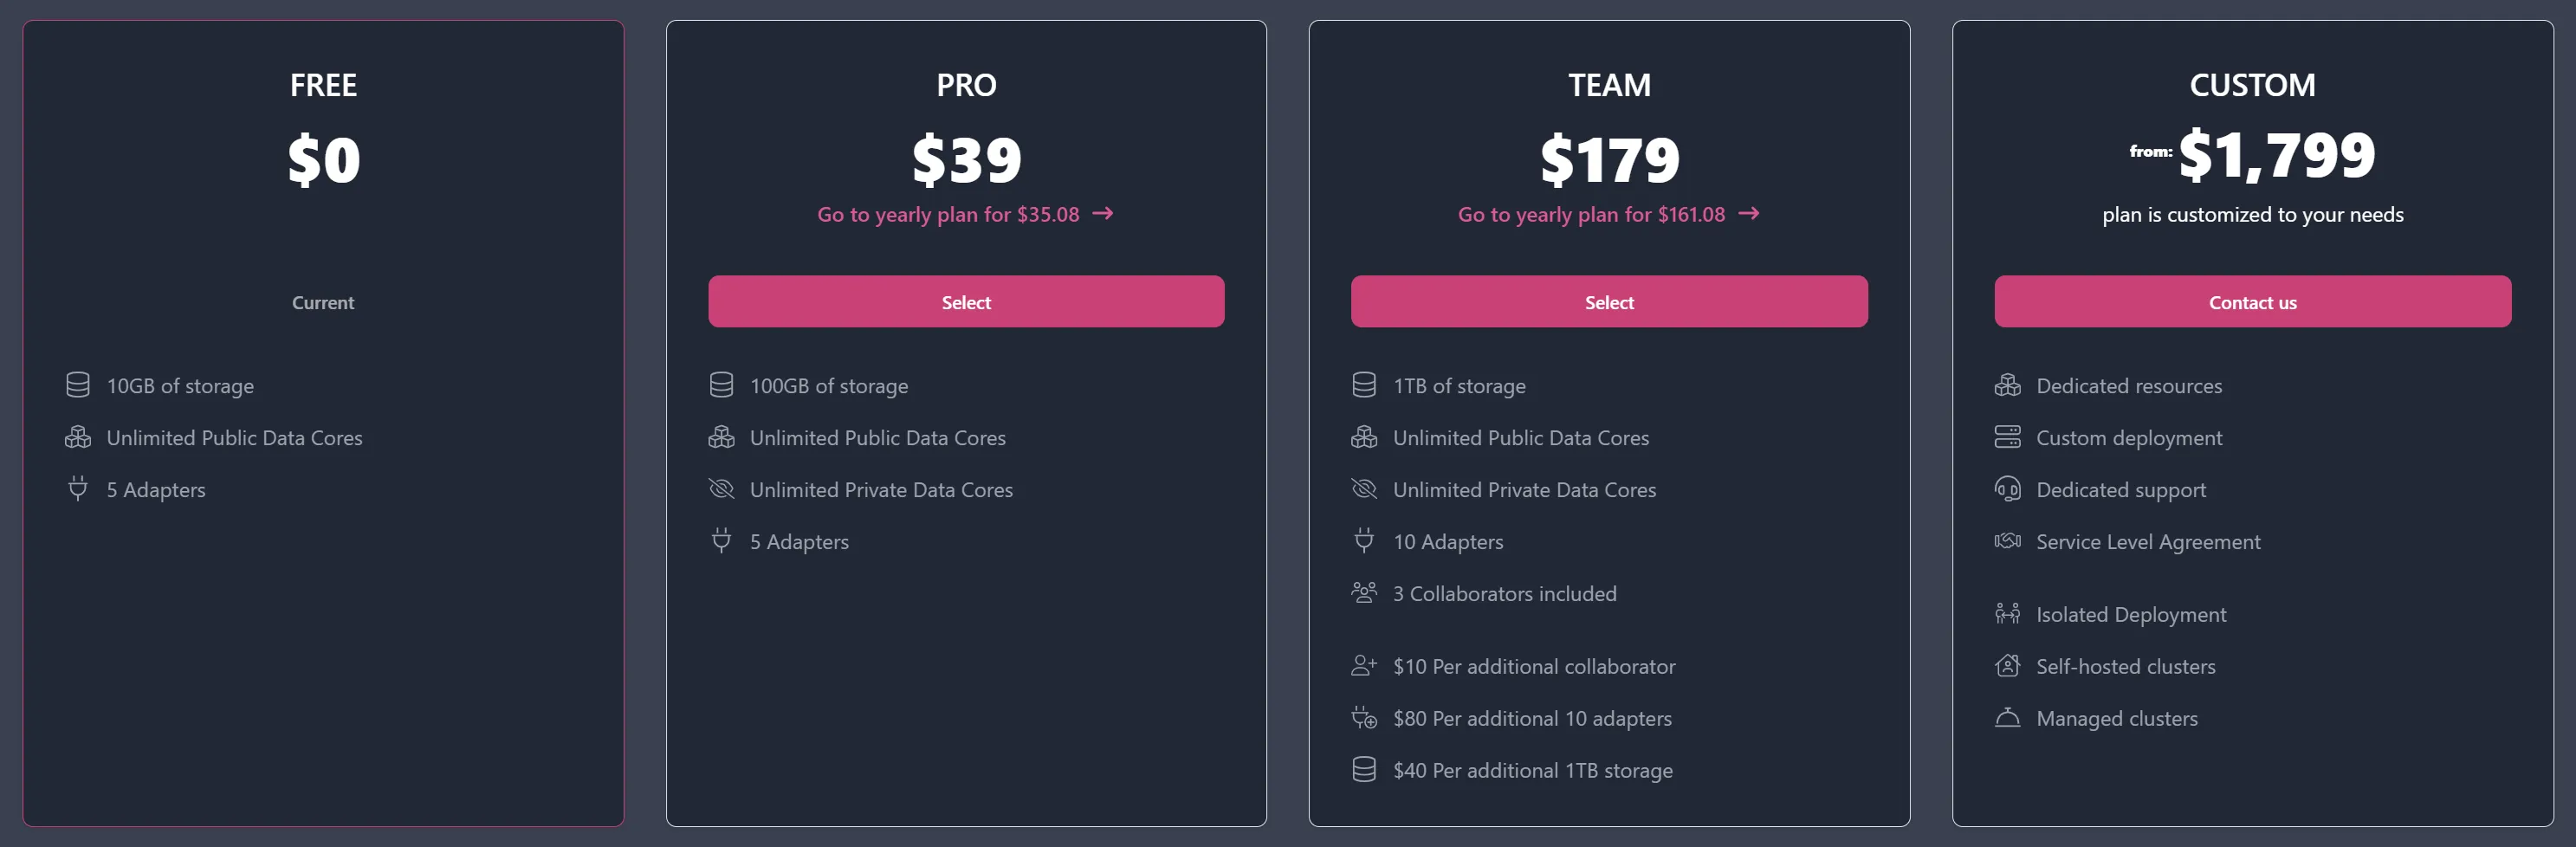
Plans can be billed on a yearly or monthly basis, depending on your preference.
You can always change your plan by clicking the Upgrade button on the bottom right of your organization’s page.
By default, when you first log into the Flowcore platform, your organization will be assigned the Free Tier. You can choose to upgrade at any point.
It is important to understand the relationship between users and organizations on Flowcore. When you log in, a personal organization is created that matches your username. Your personal organization typically utilises the free or pro tier, for your own personal projects and/or test use cases.
If you want to establish a separate organization for a specific project or team, you can easily create one - when you create a second organization, you are automatically added to that organization as a collaborator, with the role of Owner.
To create a new organization, simply navigate back to the list of organizations and press the New Organization button in the top right corner.
Here we will provide an overview of Data Cores, explaining how they function and guiding you through the process of creating them. Additionally, we’ll explore how to load data into these Data Cores using webhooks.
A Data Core in Flowcore is essentially a container for unstructured data. You have the flexibility to send in any dataset you desire, and it doesn’t need to be predefined. This approach is incredibly useful for scenarios where you have vast amounts of data, and you’re uncertain about what specific pieces you’ll need. You can load it all into the Data Core and decide later which data is relevant to your needs.
To create a Data Core, navigate to your organization and press the Create Datacore button, located on the right-hand side.
Give your Data Core a name, relevant to the data you will be assigning to it, and give a brief description of what it is.
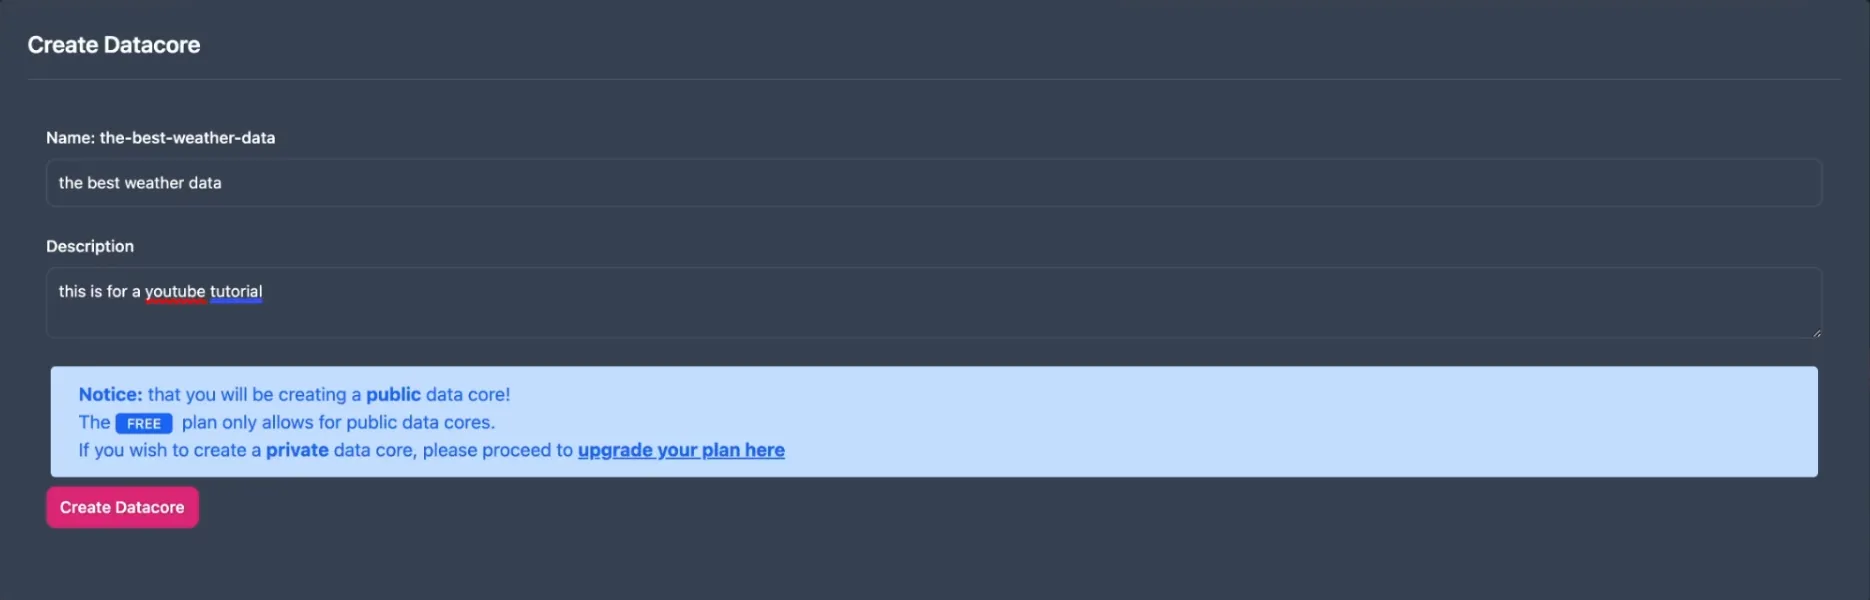
Public Data Cores are ideal for:
Private Data Cores are ideal for:

Within the Data Core, you can organize your data further by creating groups and subgroups. This is done by creating Flowtypes from within the Data Core.
To simplify the concept of flowtypes, you can imagine that the aggregator is a drawer and the Event Types are little storage boxes within the drawer. This gives you the ability to roughly organize your data without having to be too thorough. Allowing you to group up multiple related data sets into one Data Core.
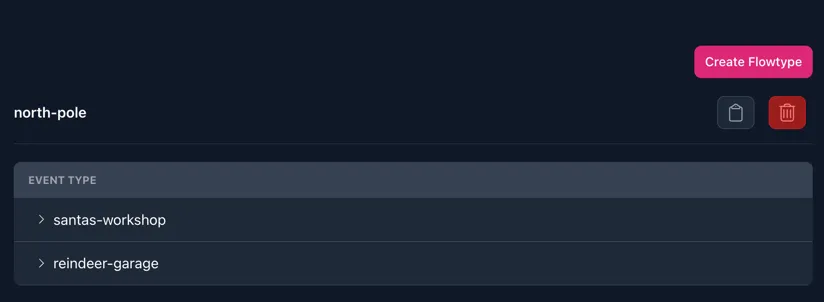
To create a flowtype, click the Create Flowtype button within your Data Core’s page. Here you will be able to define the aggregator, write a description and list your Event Types.

Generating the following outcome:
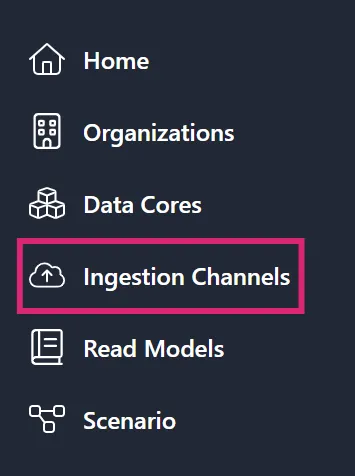
Next, we explore how to send data into a Data Core through ingestion channels. This can be found in the panel on the left-hand side.
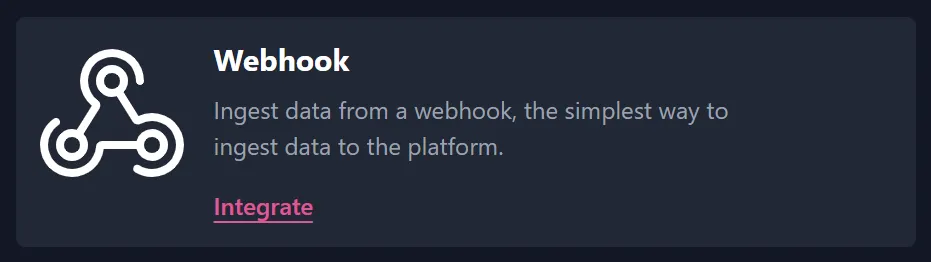
Currently, Flowcore supports webhooks, with plans to introduce MQTT and “bring your own” custom options in the future. For this guide, we will be using webhooks, so go ahead and click Integrate in the Webhook panel.
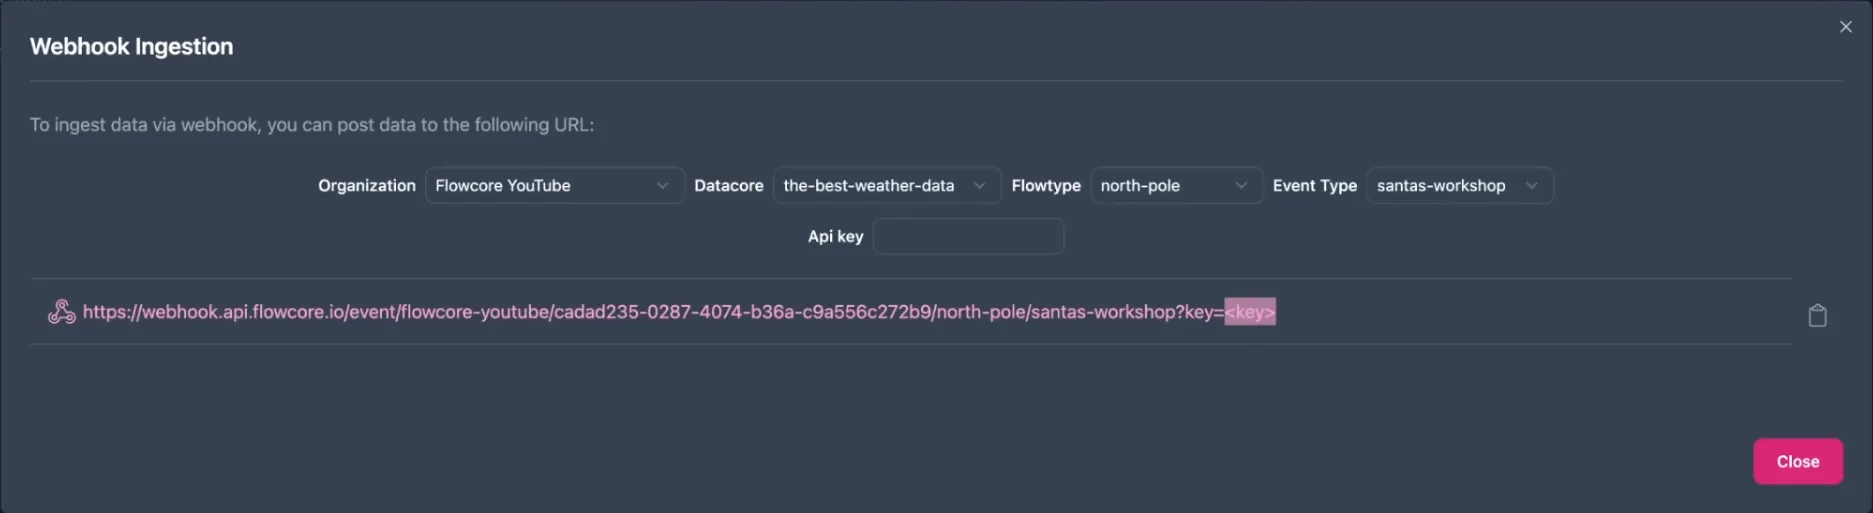
Here you can choose which organization, Data Core, flowtype and Event Type to use. This will generate a webhook, which is a URL you can call. However, to complete the webhook, you will need to generate an API key for authentication.
To generate an API key, click on your user in the top right corner and select settings. At the bottom of your user settings’s page, is a field called API Keys. Simply click the Create API Key to generate a key.
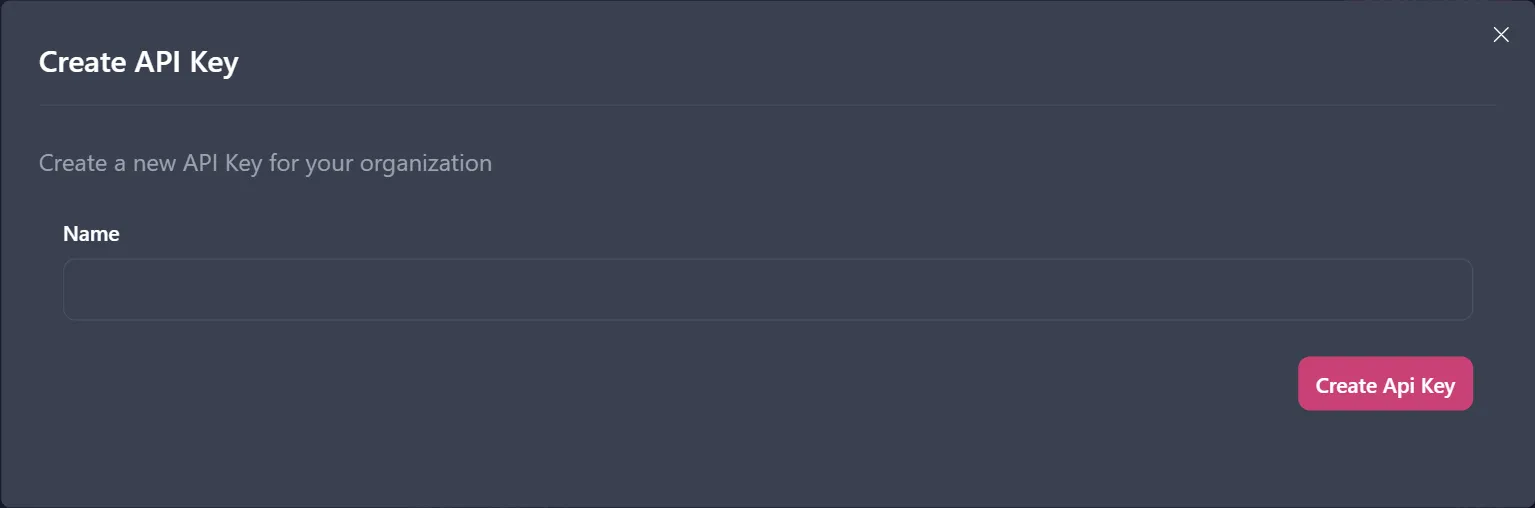
Give the key a name, which makes sense to you and your project, and it will generate a key for you. You can copy this to your clipboard and paste it into the webhook, to complete it.
The benefit to using these API keys is the ease to delete them at will, in case you should choose to revoke access to your Data Core. And there is less authenticative management on your part
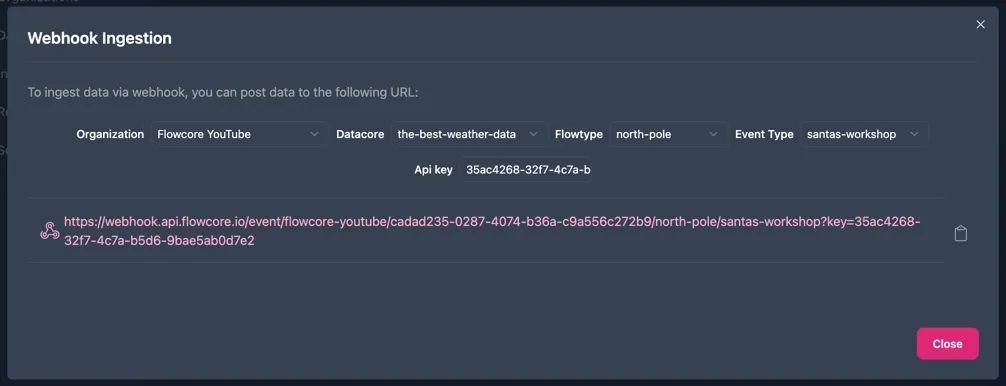
Now return to the ingestion channel and paste the API key into the webhook URL, so it ultimately looks like this:
Once the API key is generated and added to the webhook URL, it is time to send data to the Data Core. For sending the data, you can use different tools; we will be using Insomnia.
POSTJSONNote: The webhook ingestion currently only support
JSONdata, hence why we set the body toJSON.
The whole structure of the data is defined by the data you send in, so it is completely schema-less.
To send data to a different Event Type, you can either generate a new webhook as you did before, or you can manually simply the name in the webhook URL.
Note: that you can reuse the api key as much as you want, but for security and flexibility we recommend generate new ones accordingly. Having multiple keys, gives you the option for cutting off access to specific keys, without having to revoke access to all of them.
Here we will explore the concept of read models in Flowcore and learn how to connect them to external sources. Read models are vital for retrieving data from Flowcore and transferring it to your own systems, such as databases or other storage solutions.
This guide provides an introduction to read models and walks you through connecting a read model to an external source, specifically using PlanetScale to set up a database.
A read model in Flowcore serves as the gateway, to extract data from Flowcore and into your preferred external sources. The primary objective is to facilitate data transfer and integration with your own systems. We will demonstrate connecting a read model to a PlanetScale database, but Flowcore offers multiple options for various external sources.
To get started, we need an actual database to connect to. Creating a database in PlanetScale, is as easy as clicking Create a new database on their website.
Where you have to do the following:
You have to name your database, choose a plan that suits your project and then create the database. PlanetScale uses MySQL, so you won’t have to select a language or framework. Once the database is done connecting, it will be ready to use.
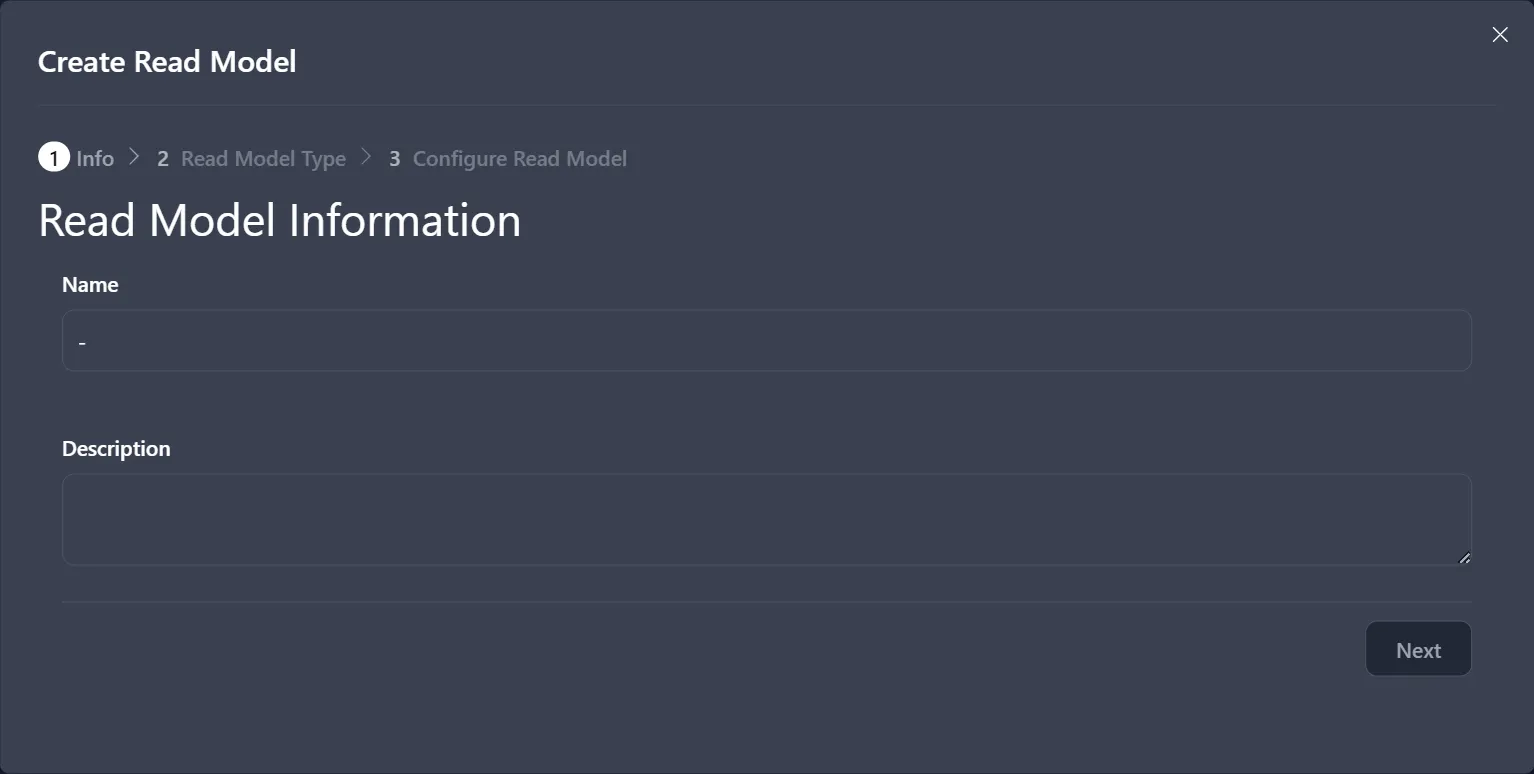
With the external database ready, we proceed to Flowcore to set up a read model. By navigating to the lefthand side panel, select Read Models and then click Create Read Model on the righthand side.
Give your read model an appropriate name and optionally write a description for it.
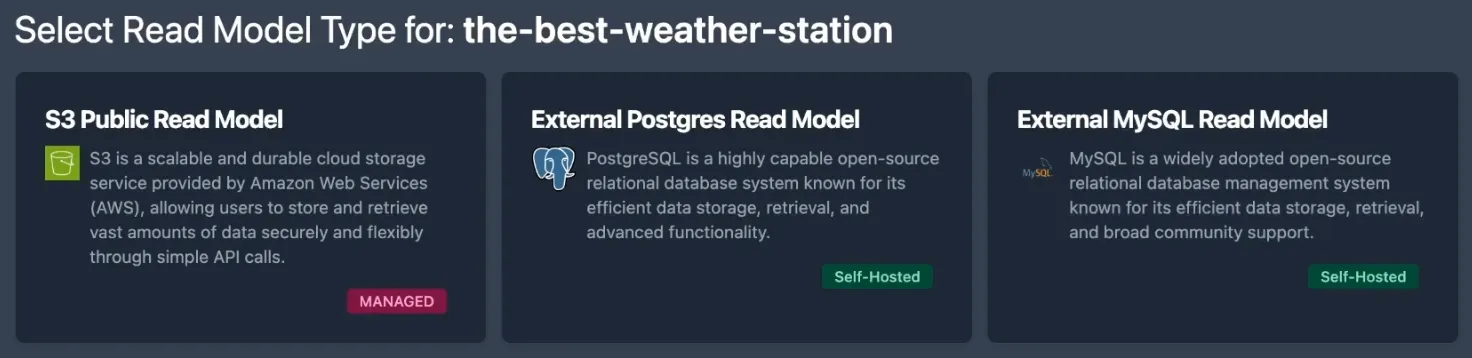
Flowcore supports various endpoints for external sources. For this instance, we choose the External MySQL Read Model.
To establish the connection to the external database, we must provide the necessary configuration details. To connect to the PlanetScale database, enter the
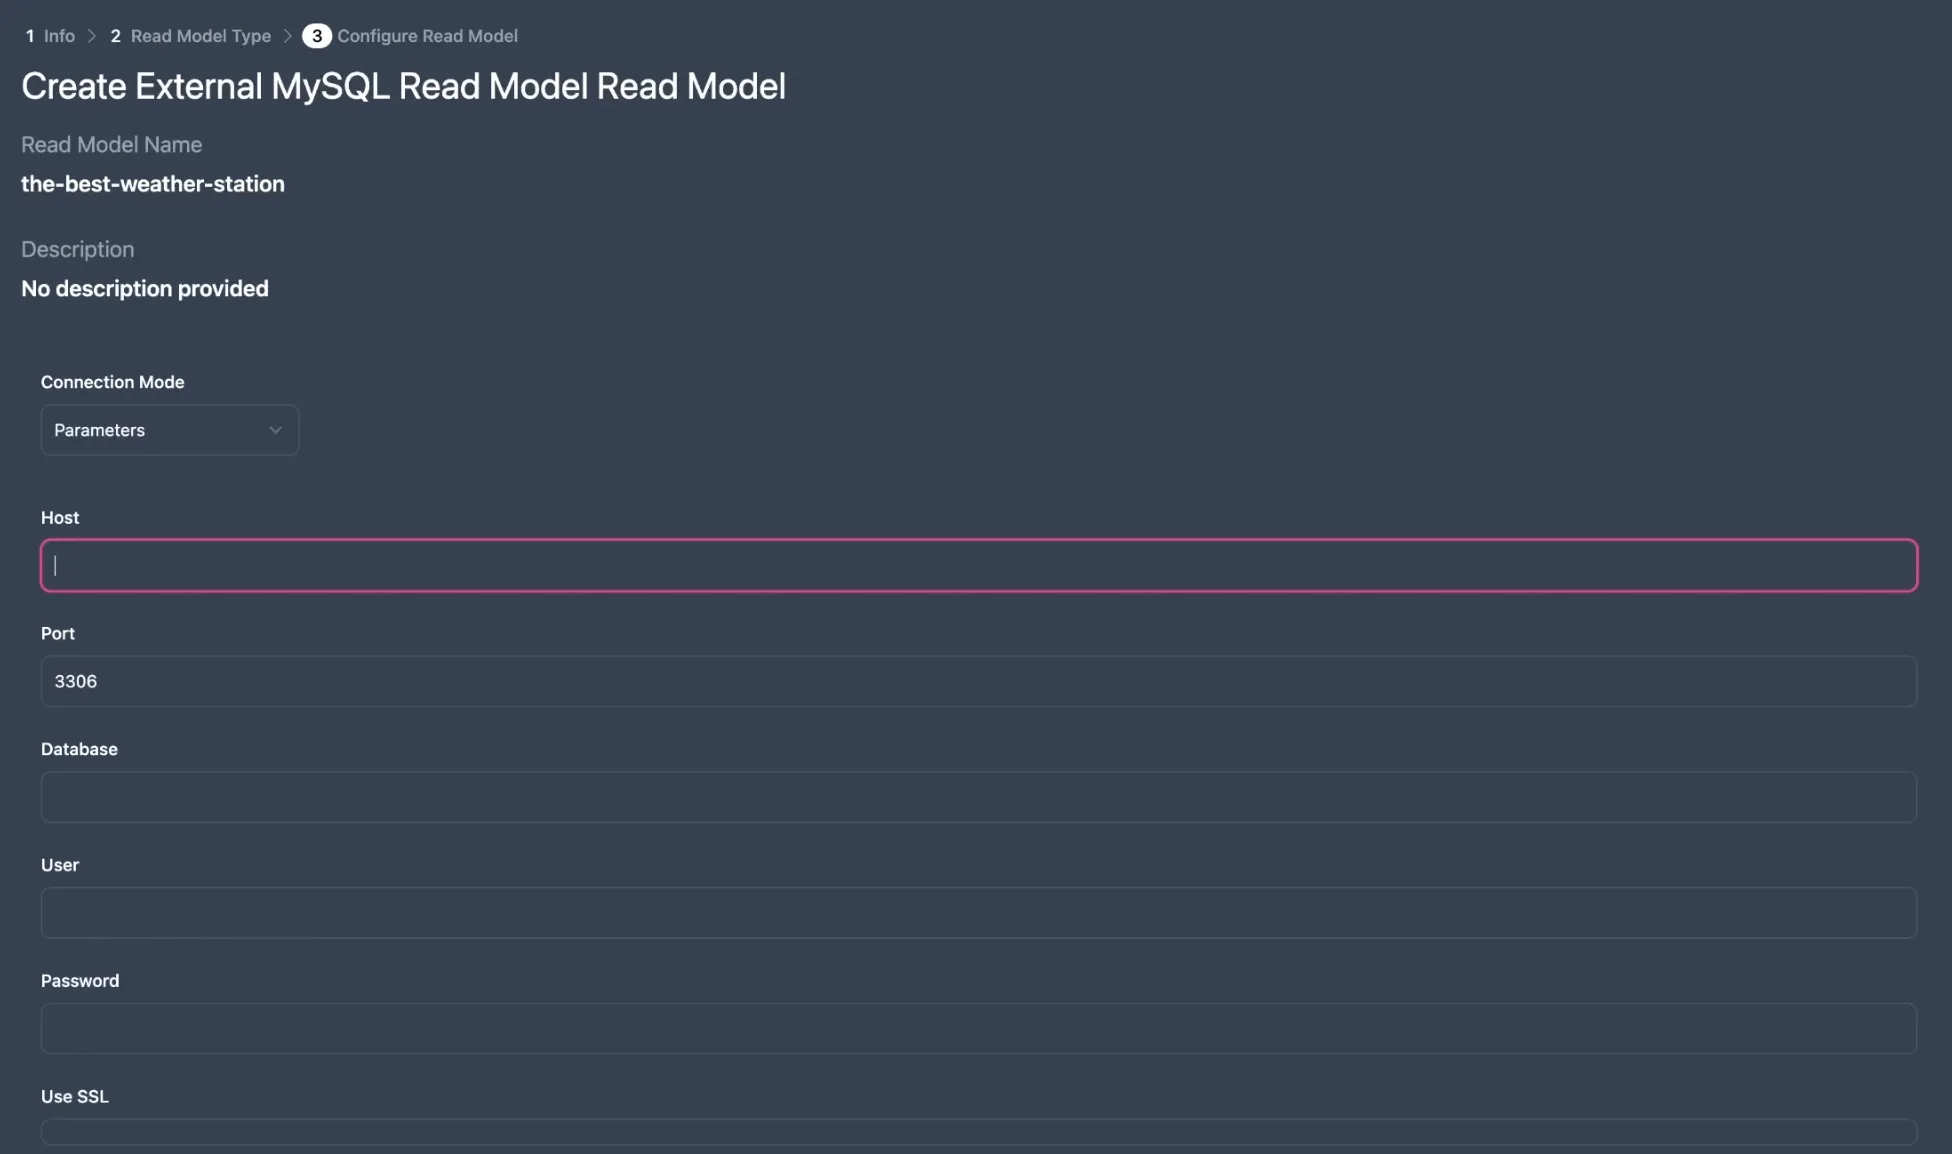
All of this information can be found by Connecting to the PlanetScale database on their website.
Once these details are entered, the read model is created and ready for data transfer.
We’ll delve into the process of transferring data from a Data Core to a read model within the context of Flowcore. Flowcore simplifies the data transformation process, allowing you to seamlessly transfer data from a Data Core into an external database, such as PlanetScale.
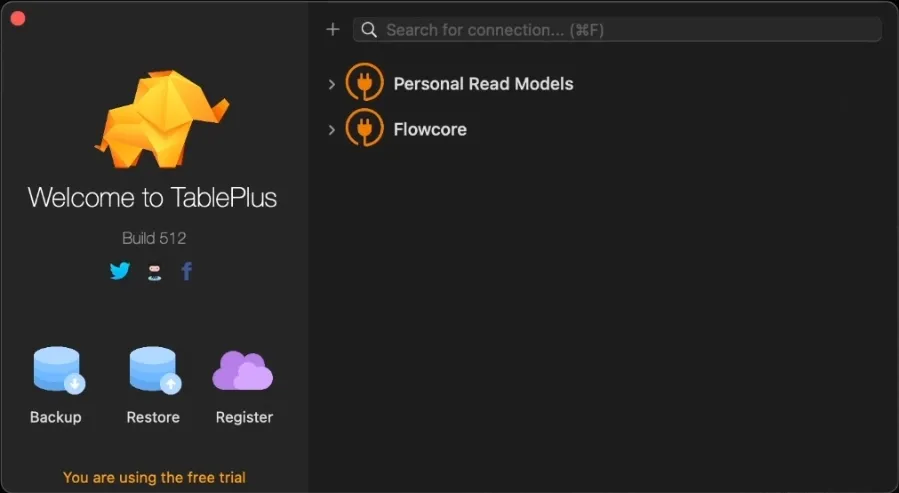
To begin, you need to establish a connection to the external database, in this case, PlanetScale. You can use any database client, like TablePlus, to set up this connection.

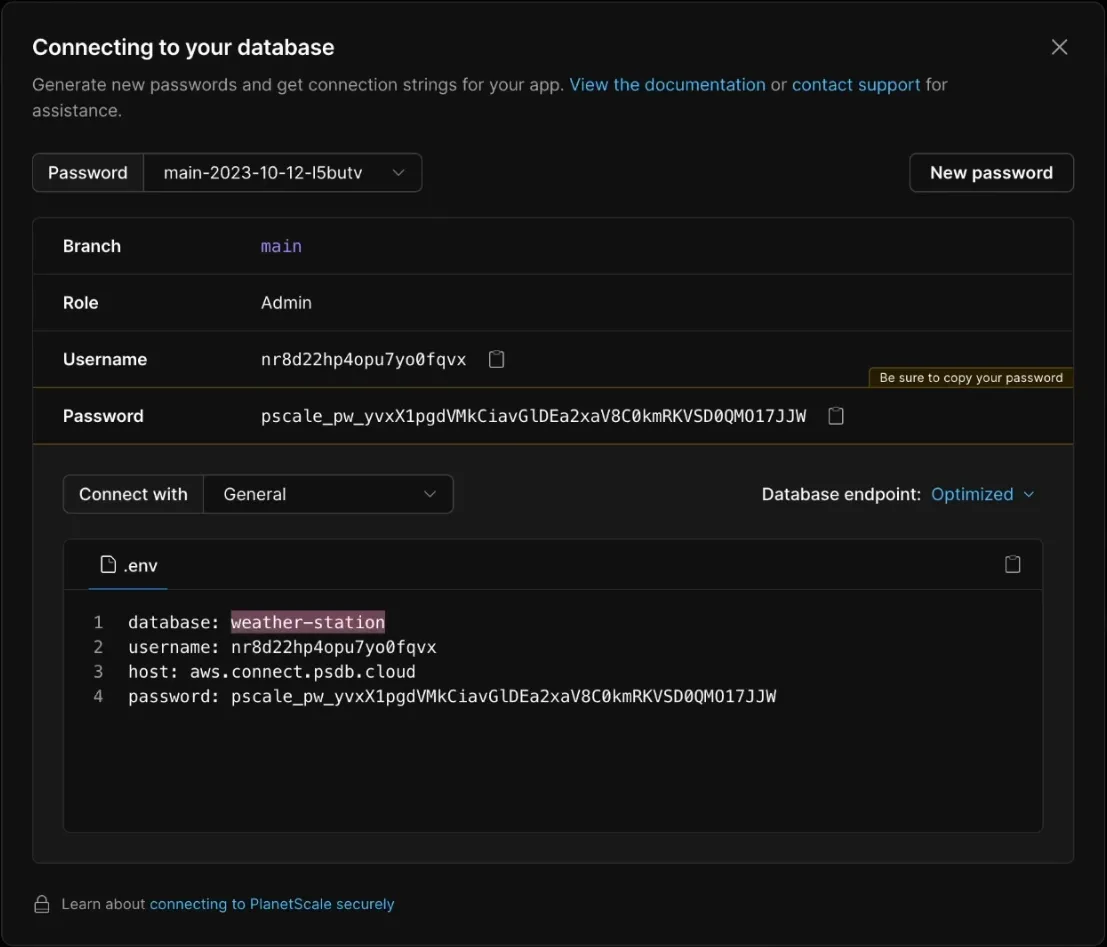
In your selected PlanetScale database, click the Connect button on the top right side.
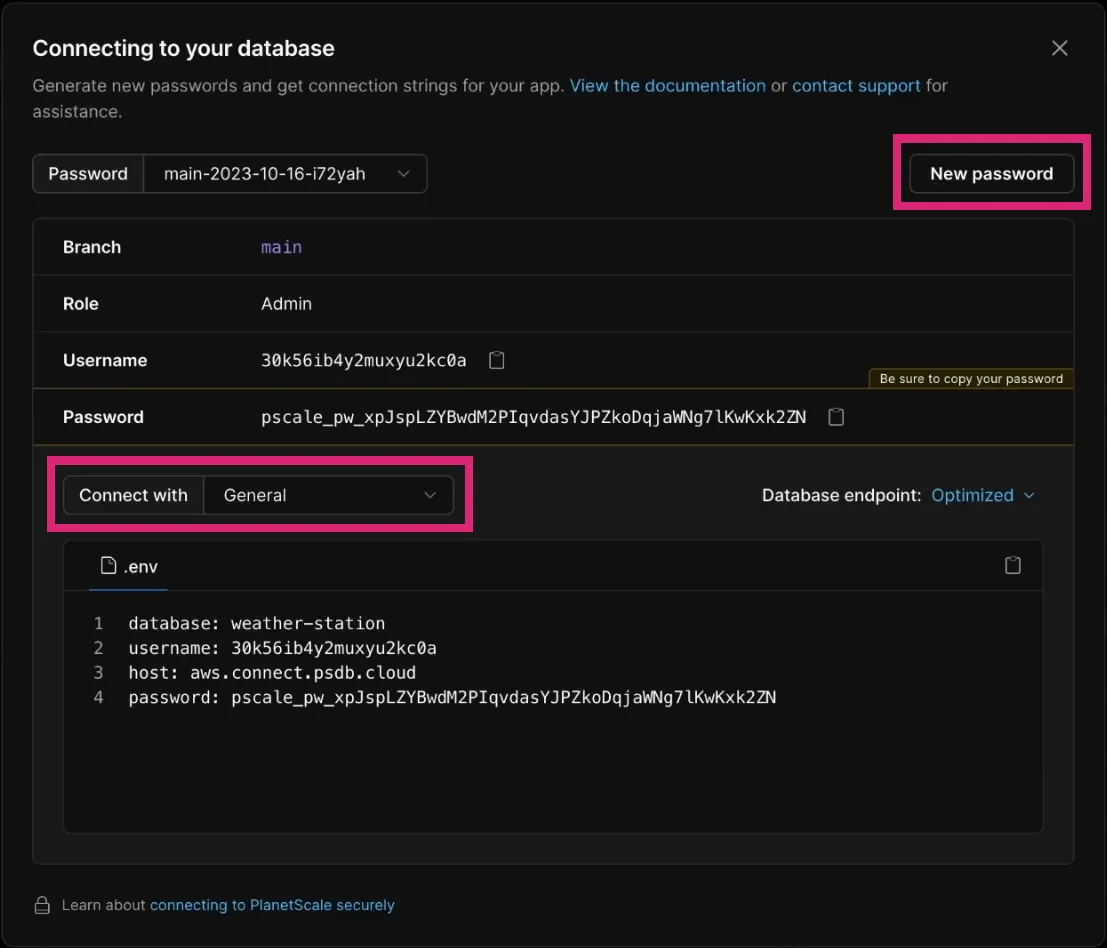
Then you create a New password. Ensure you select General to access the required database properties.
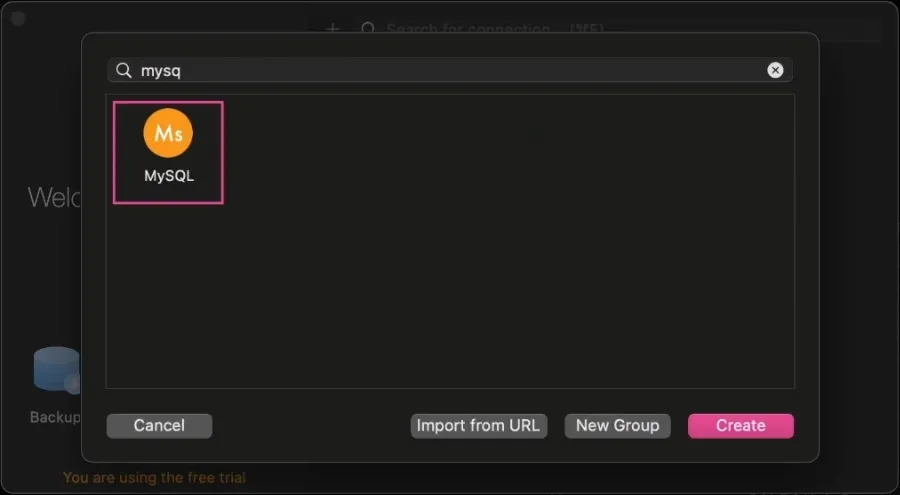
Open TablePlus and create a new MySQL connection.
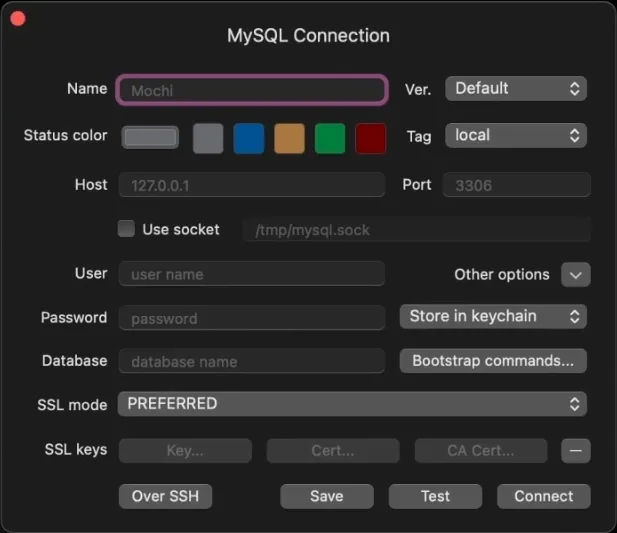
Then copy over the information from PlanetScale.
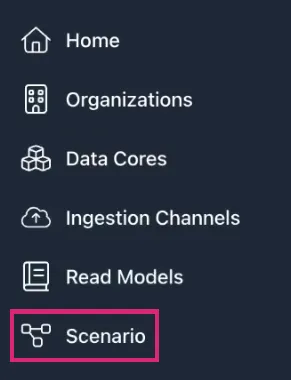
In Flowcore, the next step is to create a scenario. You can find the Scenario tab on the left hand side menu.

When creating a new scenario, you are asked to select an organization. This will reflect which Data Cores and read models you are able to access within your scenario. However, if you have subscribed to a public Data Core, then you are also able to select those Data Cores.
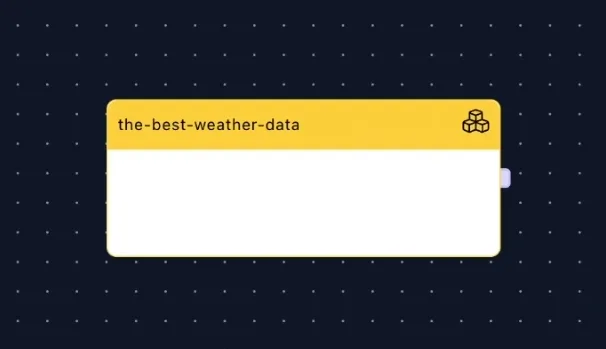
When you have chosen a Data Core, it will show up in your Scenario. On the right side of the Data Core node, is a small purple nub. This is the Node Connection. Clicking that will drag out a line to create a new node. This is how you create an adapter.

Adapters play a crucial role in data transformation. They allow you to modify the data as it flows from the Data Core to your external database.
You can choose the Event Type, language (Flowcore supports various languages like TypeScript and Python, with more to come in the future), and even create custom transformations as needed. More information regarding transforming data can be found in the next section of this guide.
If you leave all the settings as they are, it will just allow the data to flow, untransformed, from the datacore to your read model.
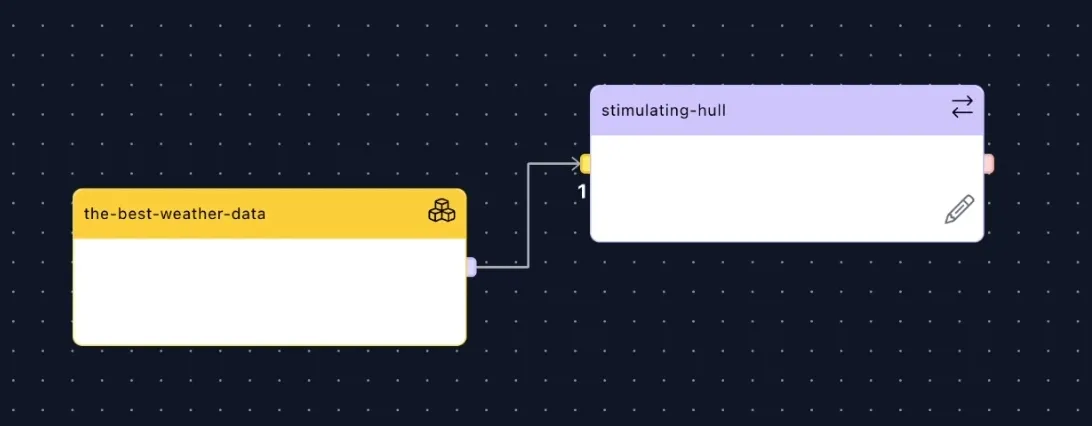
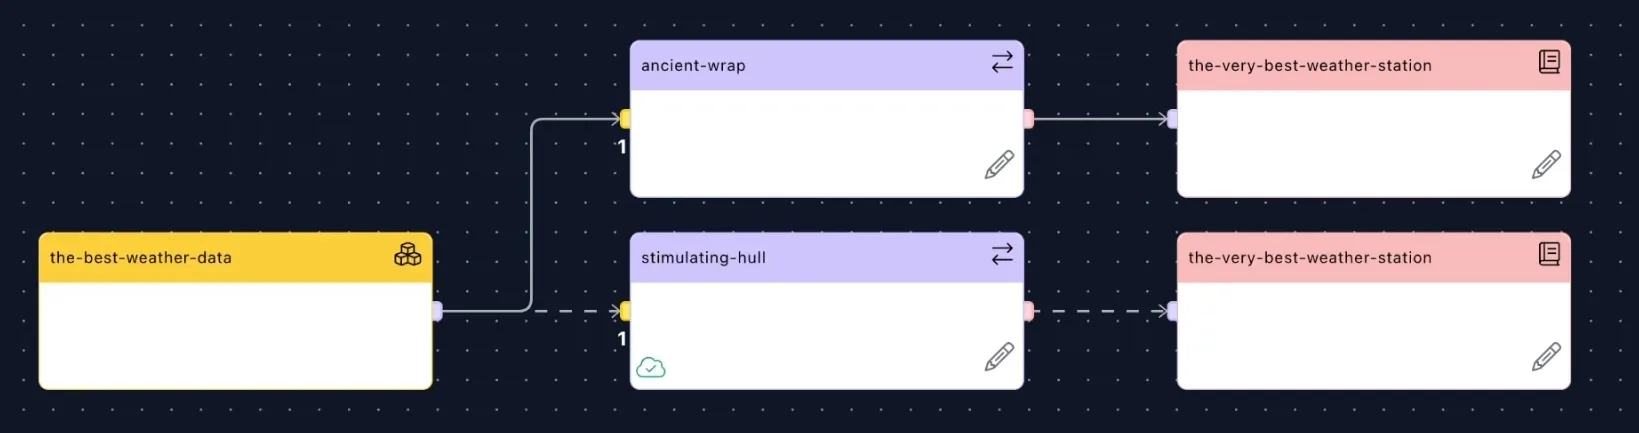
You can now create a new node from the adapter to pipe the data into another Data Core or a read model. Simply create a new Node Connection from your adapter node.
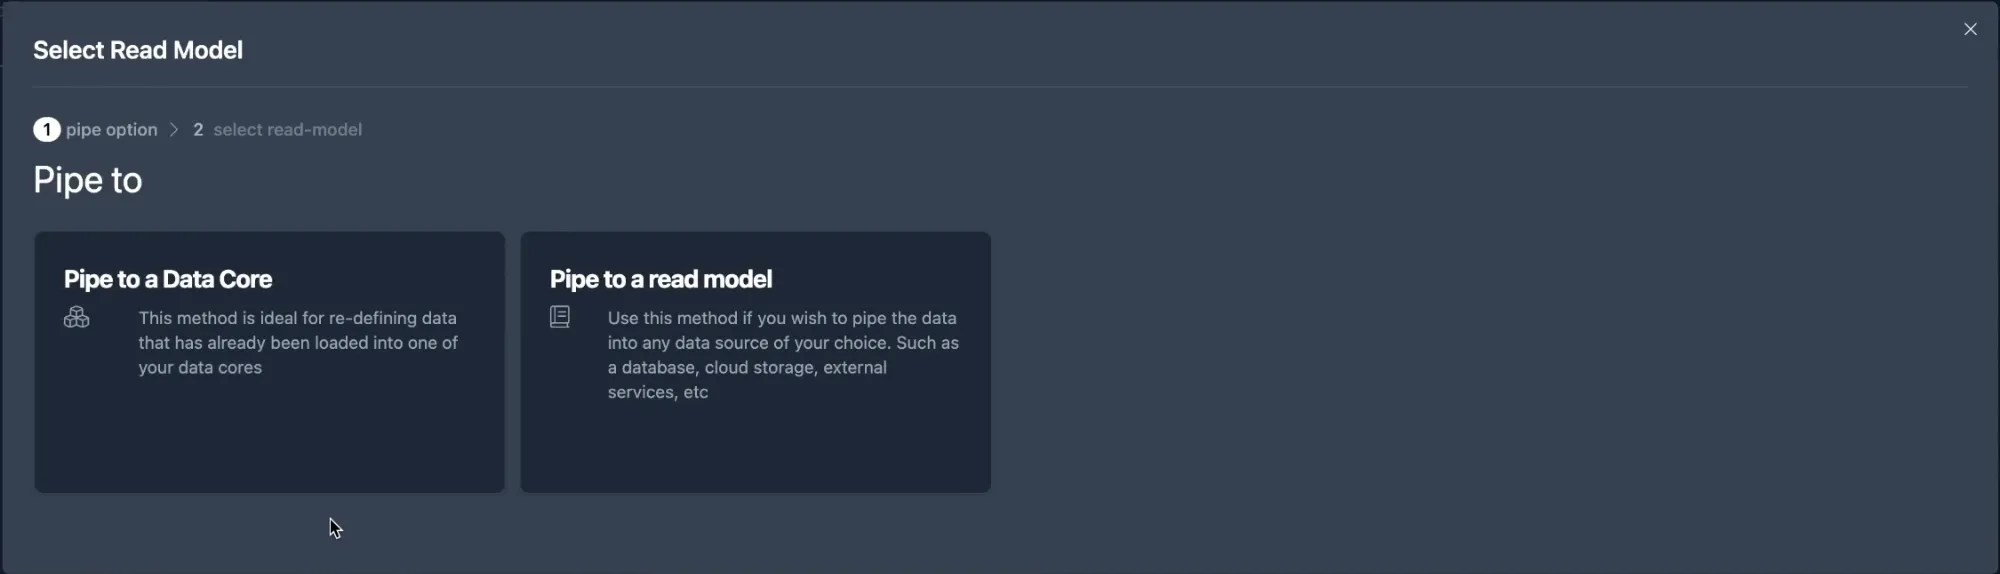
With Flowcore, you have the flexibility to transfer data to a read model or another Data Core. This is particularly useful if you need to correct or version data before moving it to the final destination. In our demonstration, we focus on the read model option, where data is pushed directly into an external database.
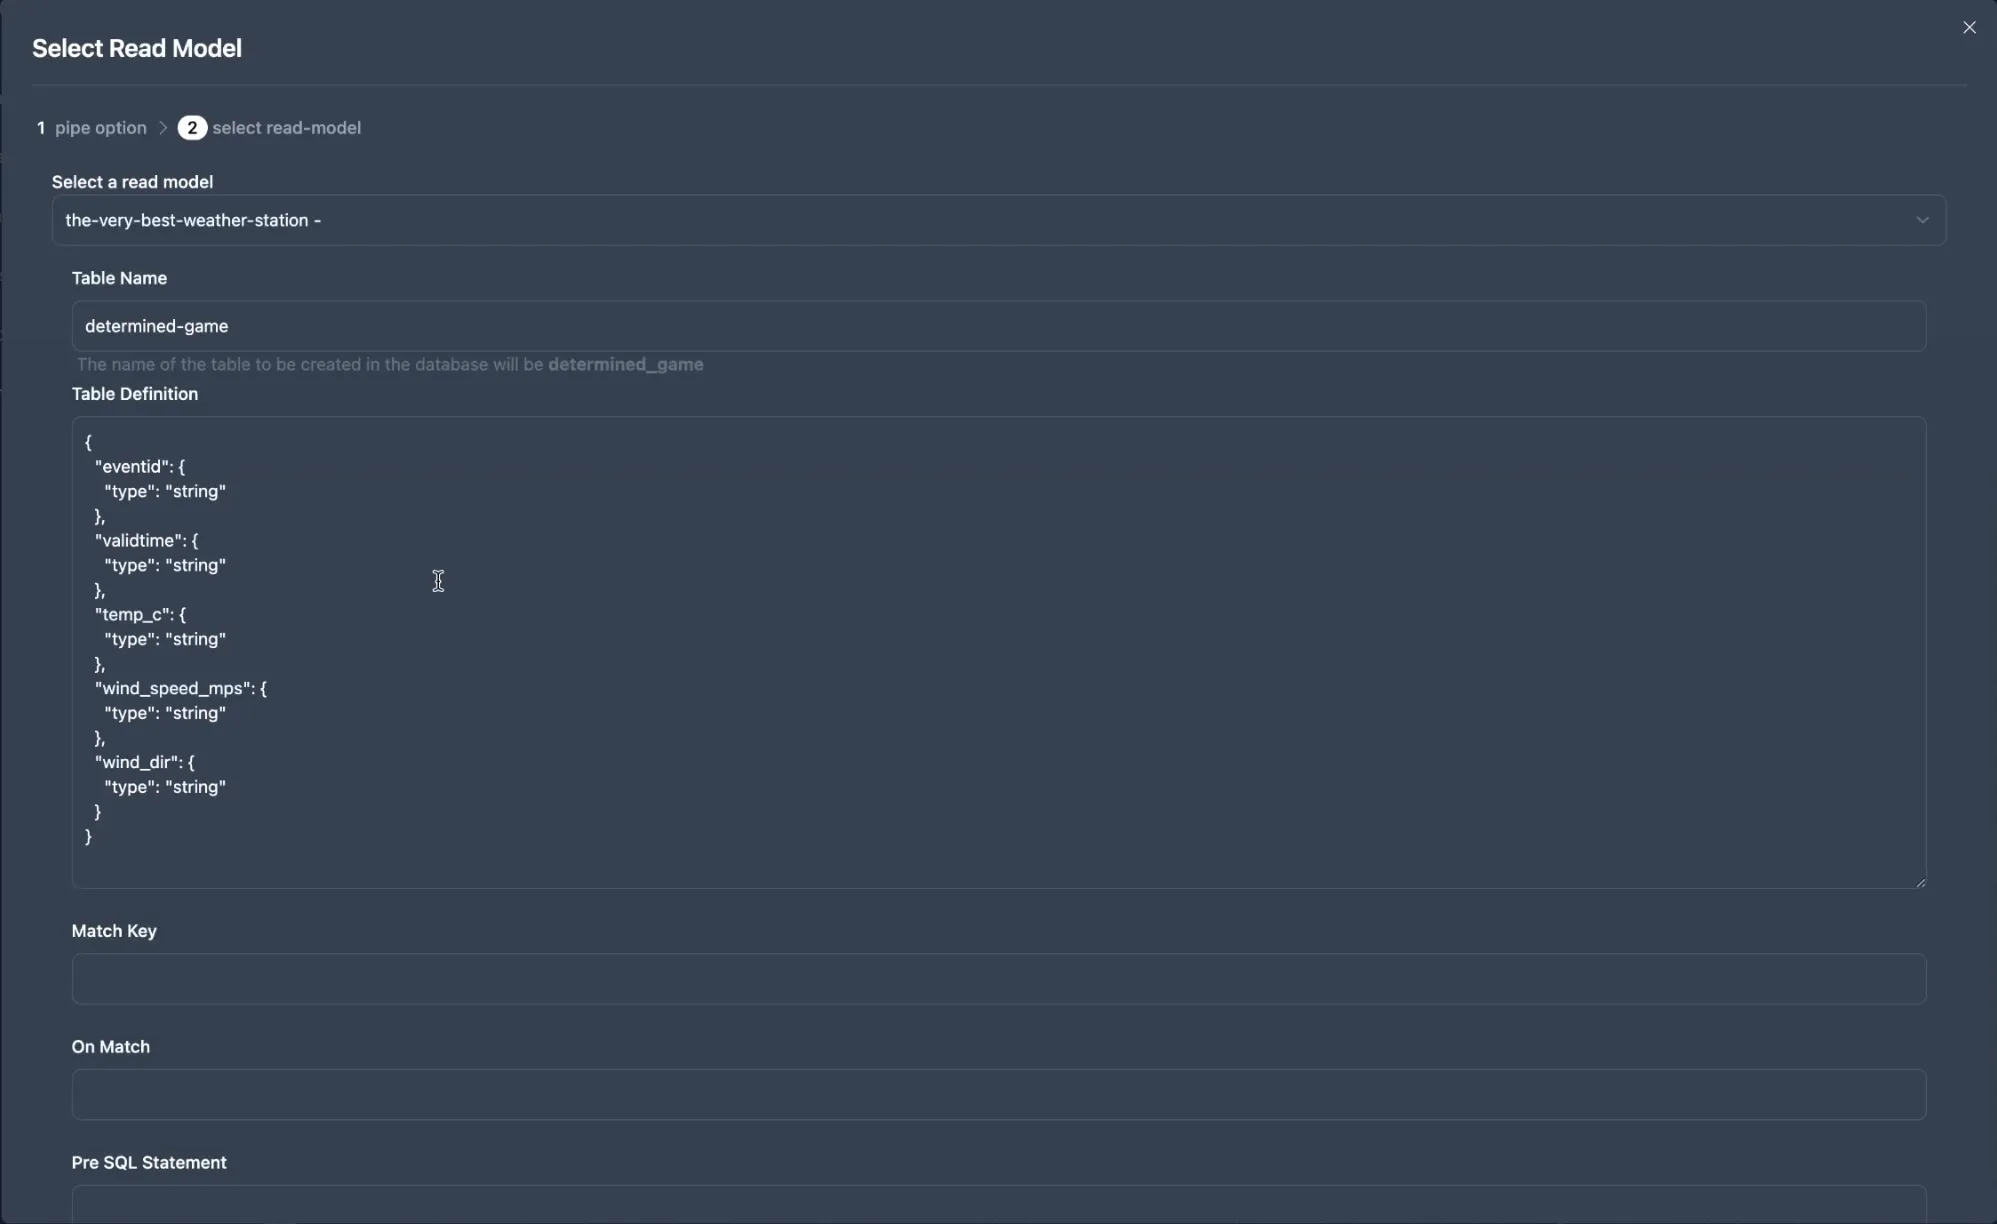
Choose the read model you would like to use for this scenario. You can change the Table Name and the Table Definition if you wish, but in this instance it isn’t required.
Press Complete and your scenario will be updated.

You can organize your nodes however you want or just use the alignment tool at the bottom left corner of the window. This will put all your nodes in a tidy straight line.

Once you’ve set up the scenario, defined the adapters, and configured the read model, save your work. This action is necessary before deployment to ensure changes are preserved. Deploying your configuration initiates the data transfer process. You might also want to name your scenario before deploying.

You can see the status of deployment by hovering over the little cloud icon on the bottom left corner of your adapter node. This can take a minute.
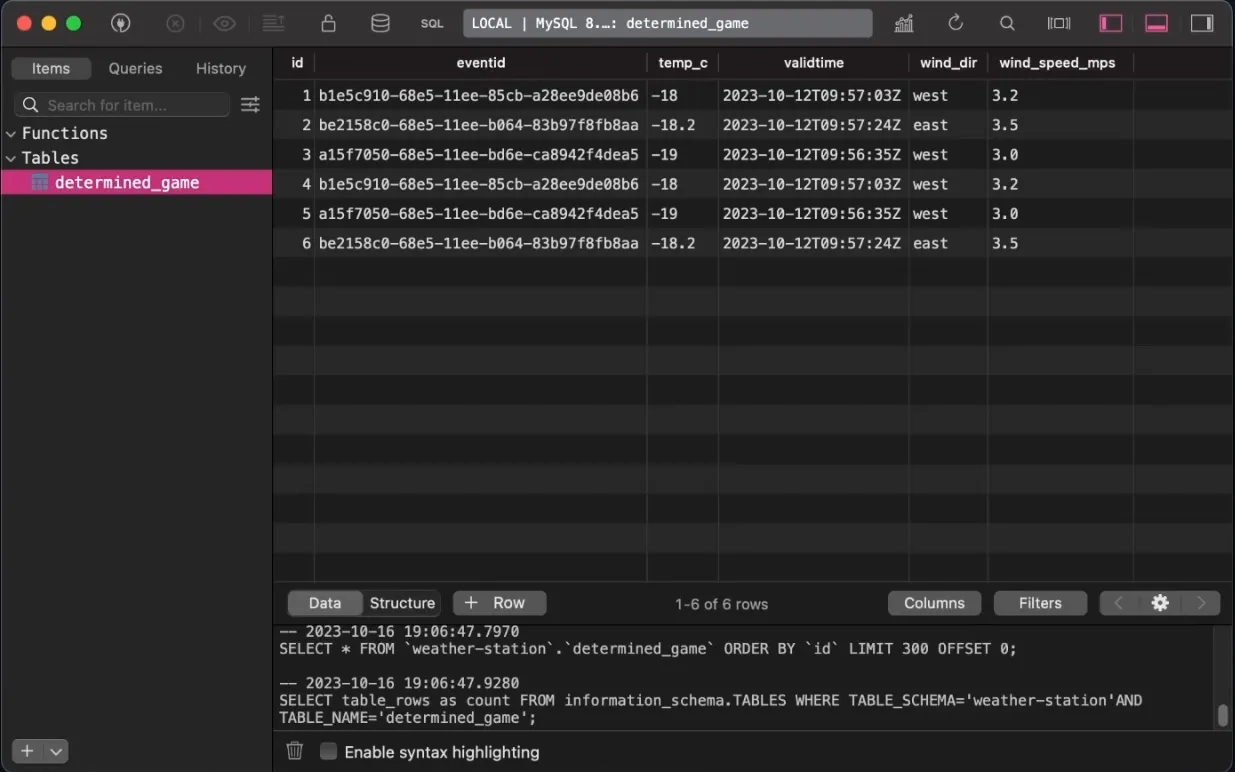
After deployment, your data will be transformed and transferred to the specified external database. You can check the database to verify that the data has been successfully transferred. Flowcore handles the entire process for you, allowing you to maintain control and flexibility.
If you want to transfer data from other Event Types within your Data Core into the same read model, you can do so easily by just repeating the same process. Create a new adapter, select the other Event Type and then pipe it into the same read model, but under a different table name. Save and deploy.
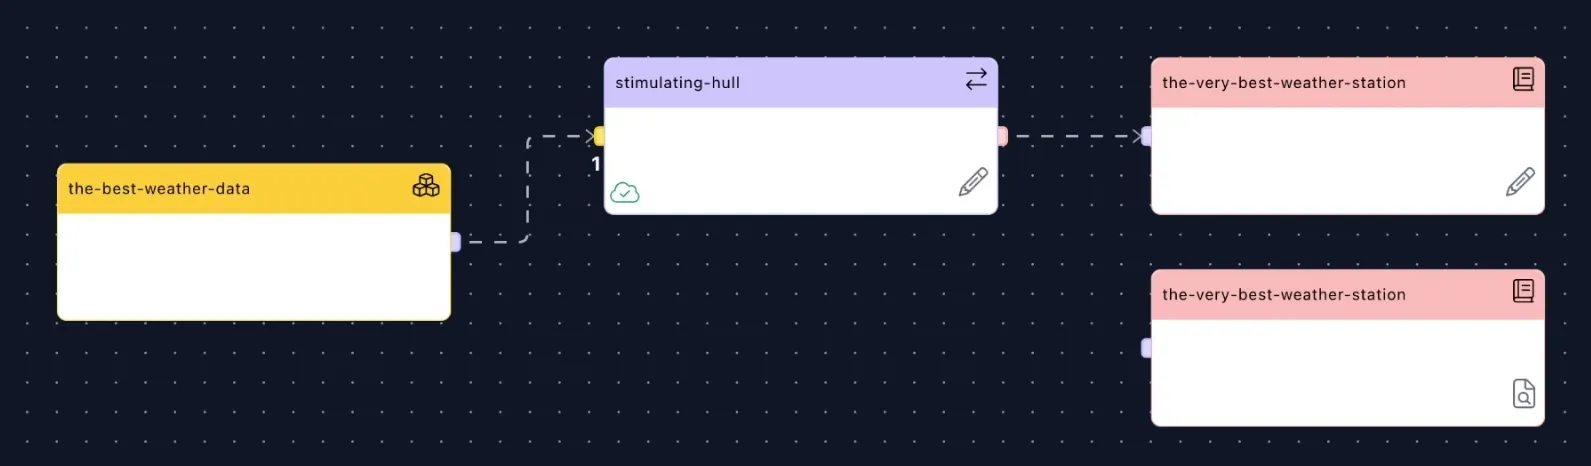
Lastly, you can also delete adapters whenever you want, in case you don’t need the data from the Event Type anymore. Simply select them, delete, save and deploy. You can even recreate them later if you change your mind again.
The objective of this section is getting data from a Data Core, put into the adapter and restructuring that data. Then we push it into the external source, which in this case is a PlanetScale database.
To begin, let’s recap the previous stage, where we transferred data from a Data Core into an adapter without any modifications. This time, we will follow a different approach. We’ll take data from the Data Core and pass it through an adapter, where we’ll transform the data by adding additional properties to the data before exporting it into the database.
The main difference between transfering and transforming data is the steps taken within the adapter node. The Data Core and read model nodes are handled in the exact same way.
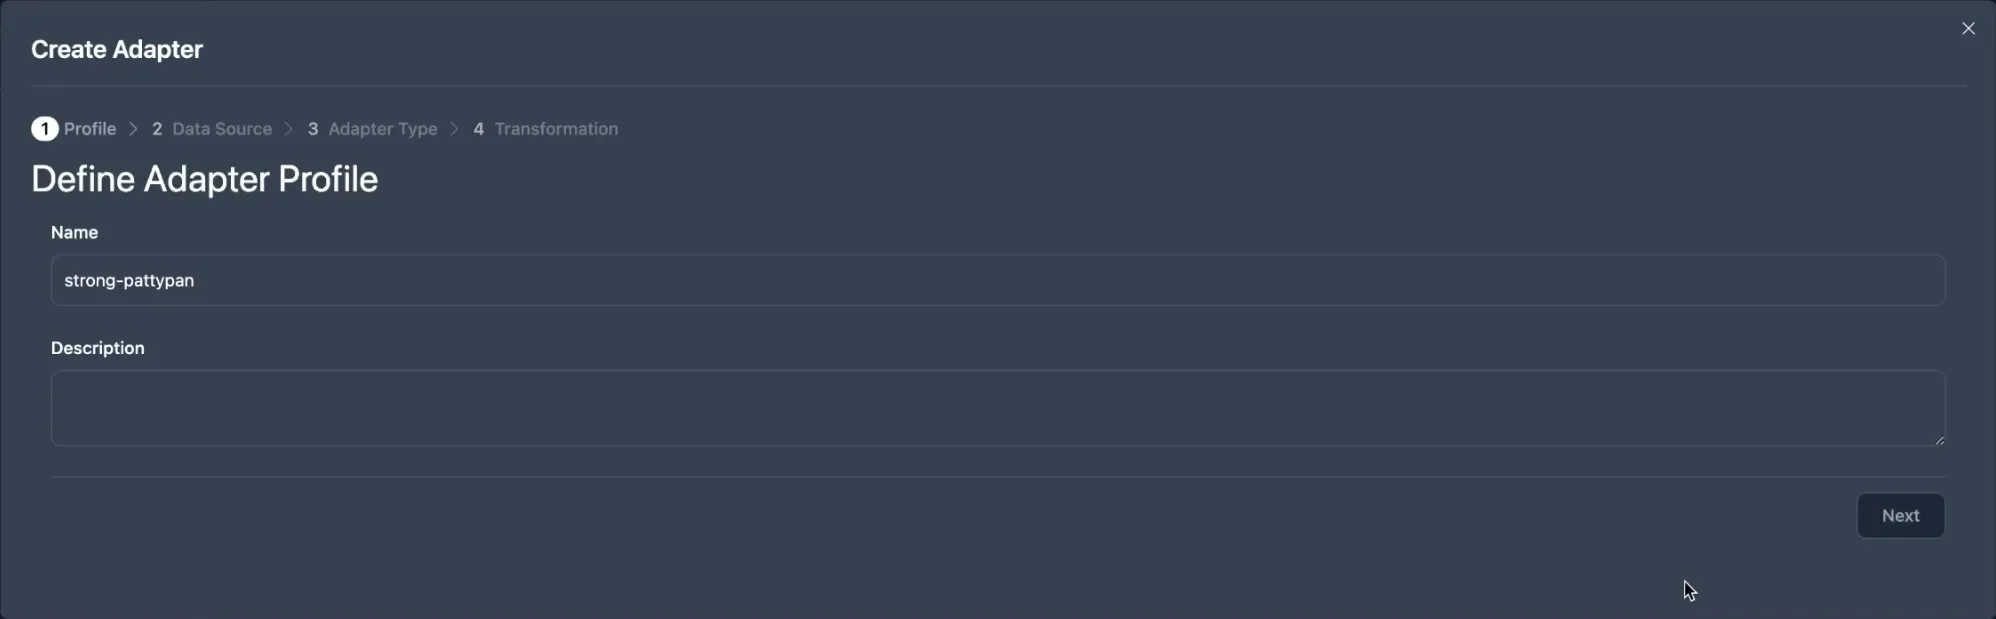
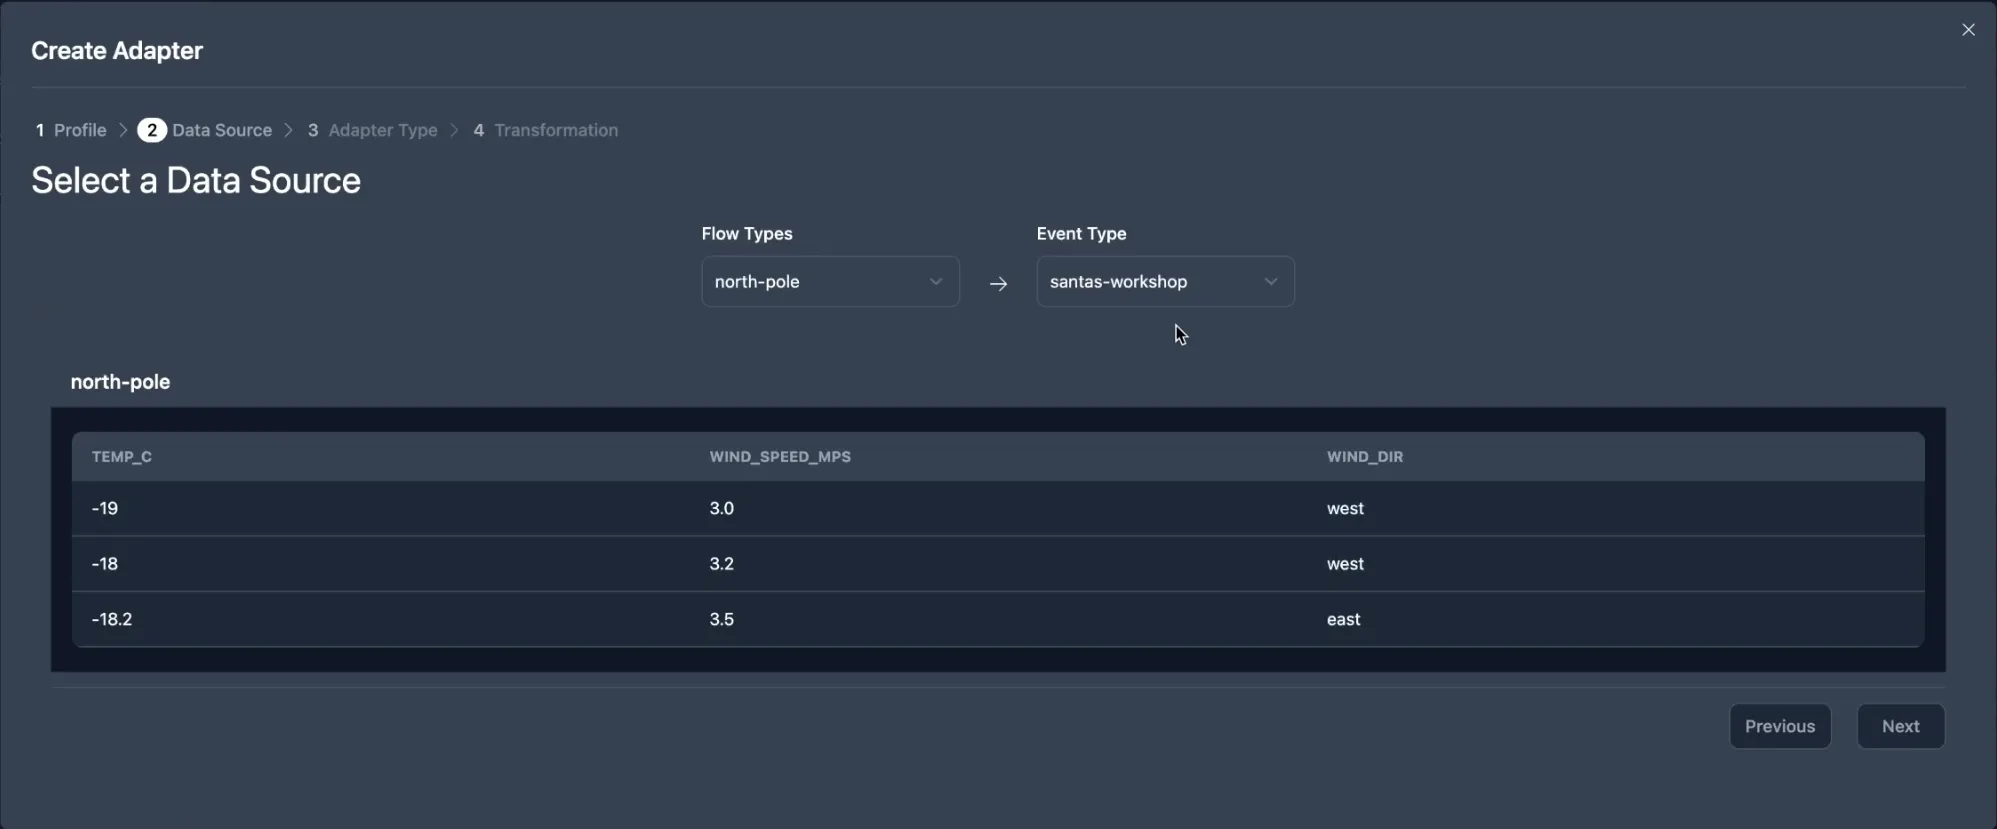
First, we need to create a new adapter node and select the relevant Event Type.
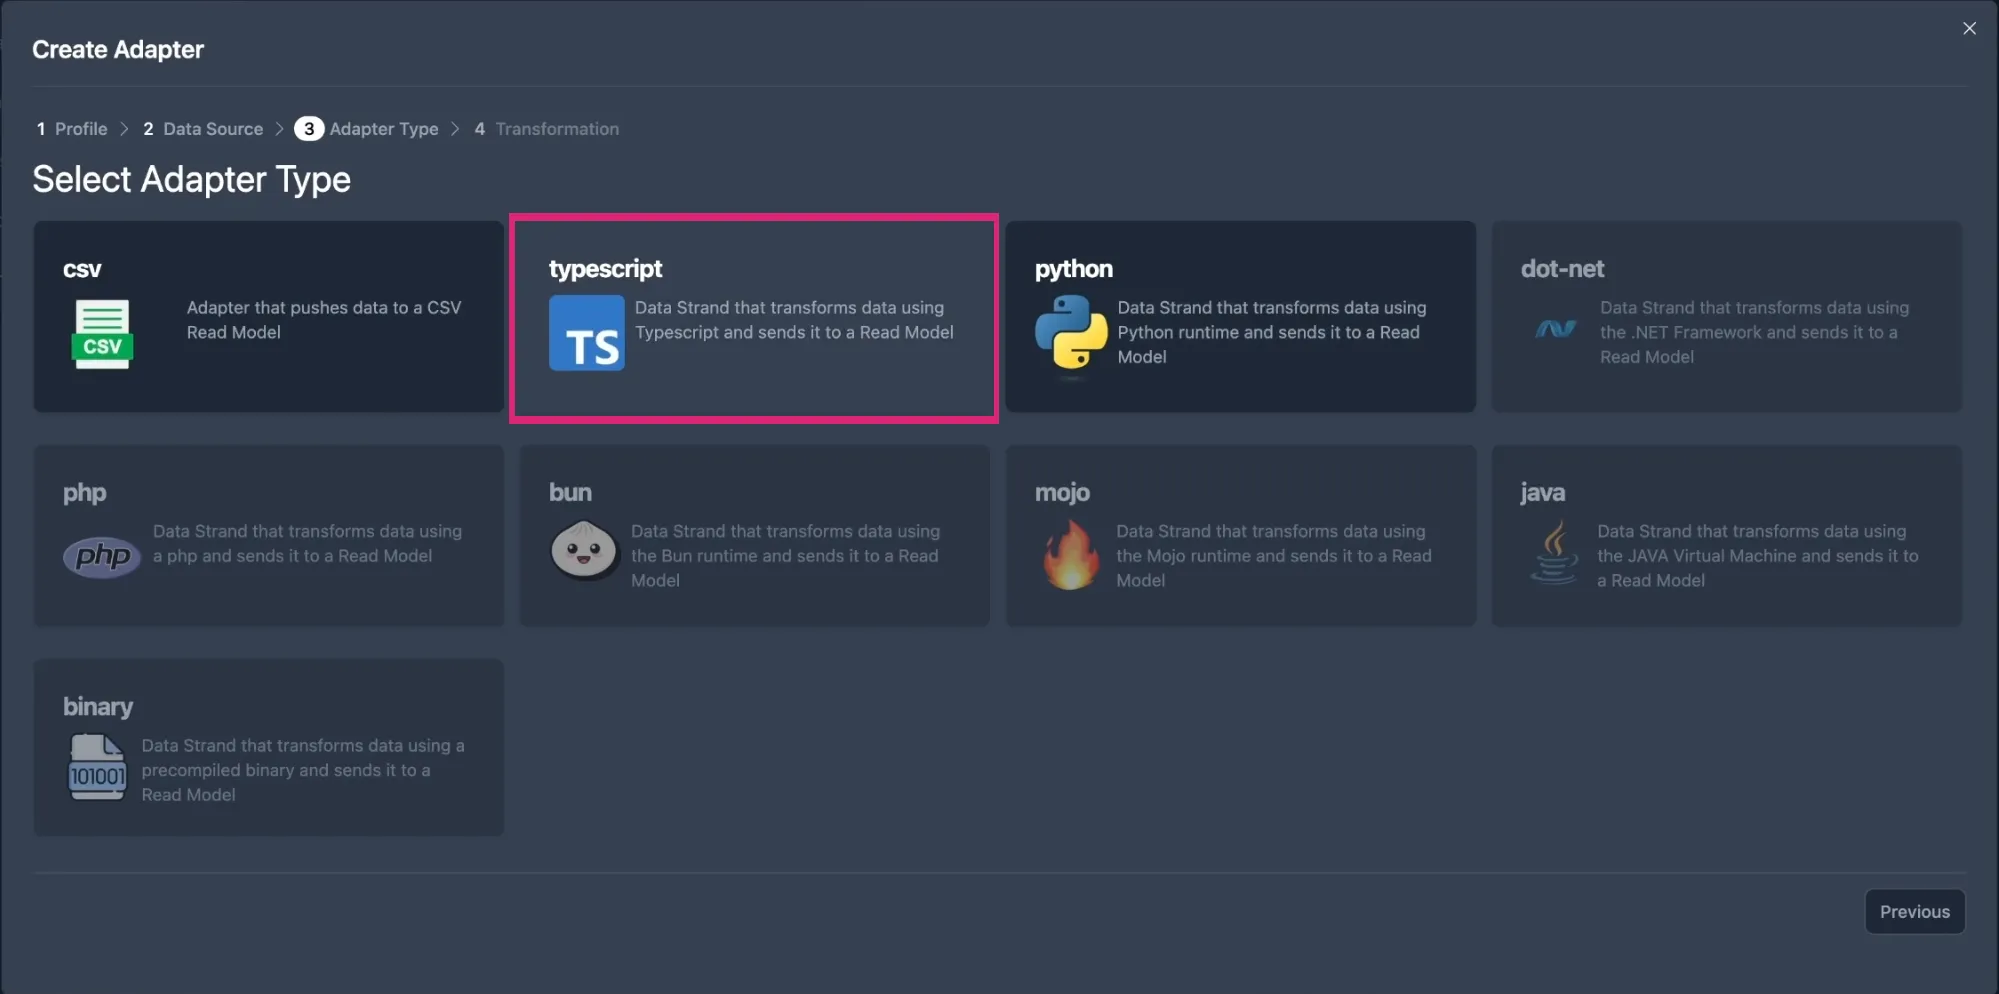
For this example we’re using typescript, so go ahead and select that. The code will be responsible for modifying the incoming data. The structure of this code will be based on what you want to achieve, and you have full control over it.
Unlike when you only have to transfer data, we will need to pay attention to the Artifact URL field, when transforming data. This is a URL to a package which has been generated within GitHub. We have to make a URL like this, to feed the transformation code into our adapter.
Firstly, we need to go to Flowcore’s GitHub page.
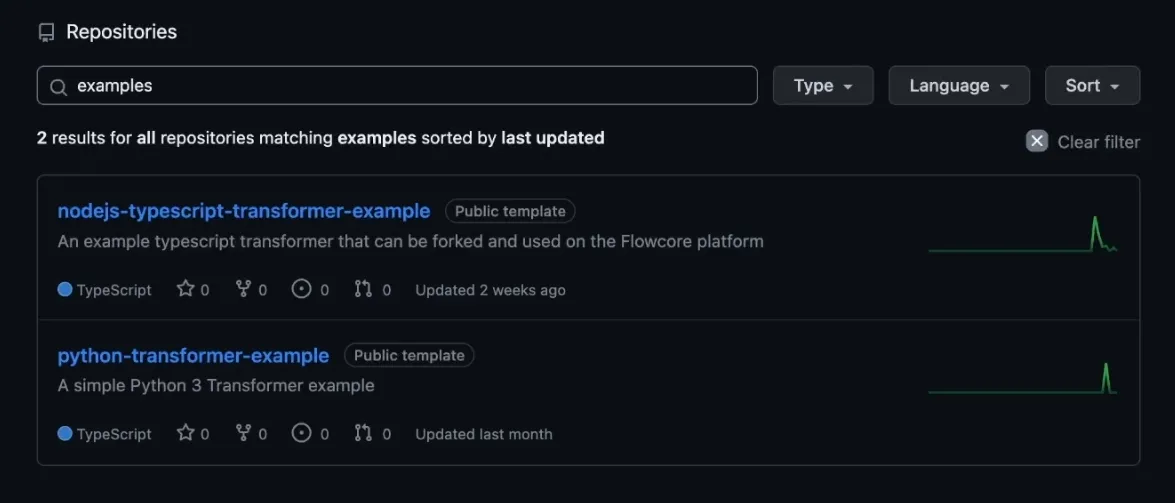
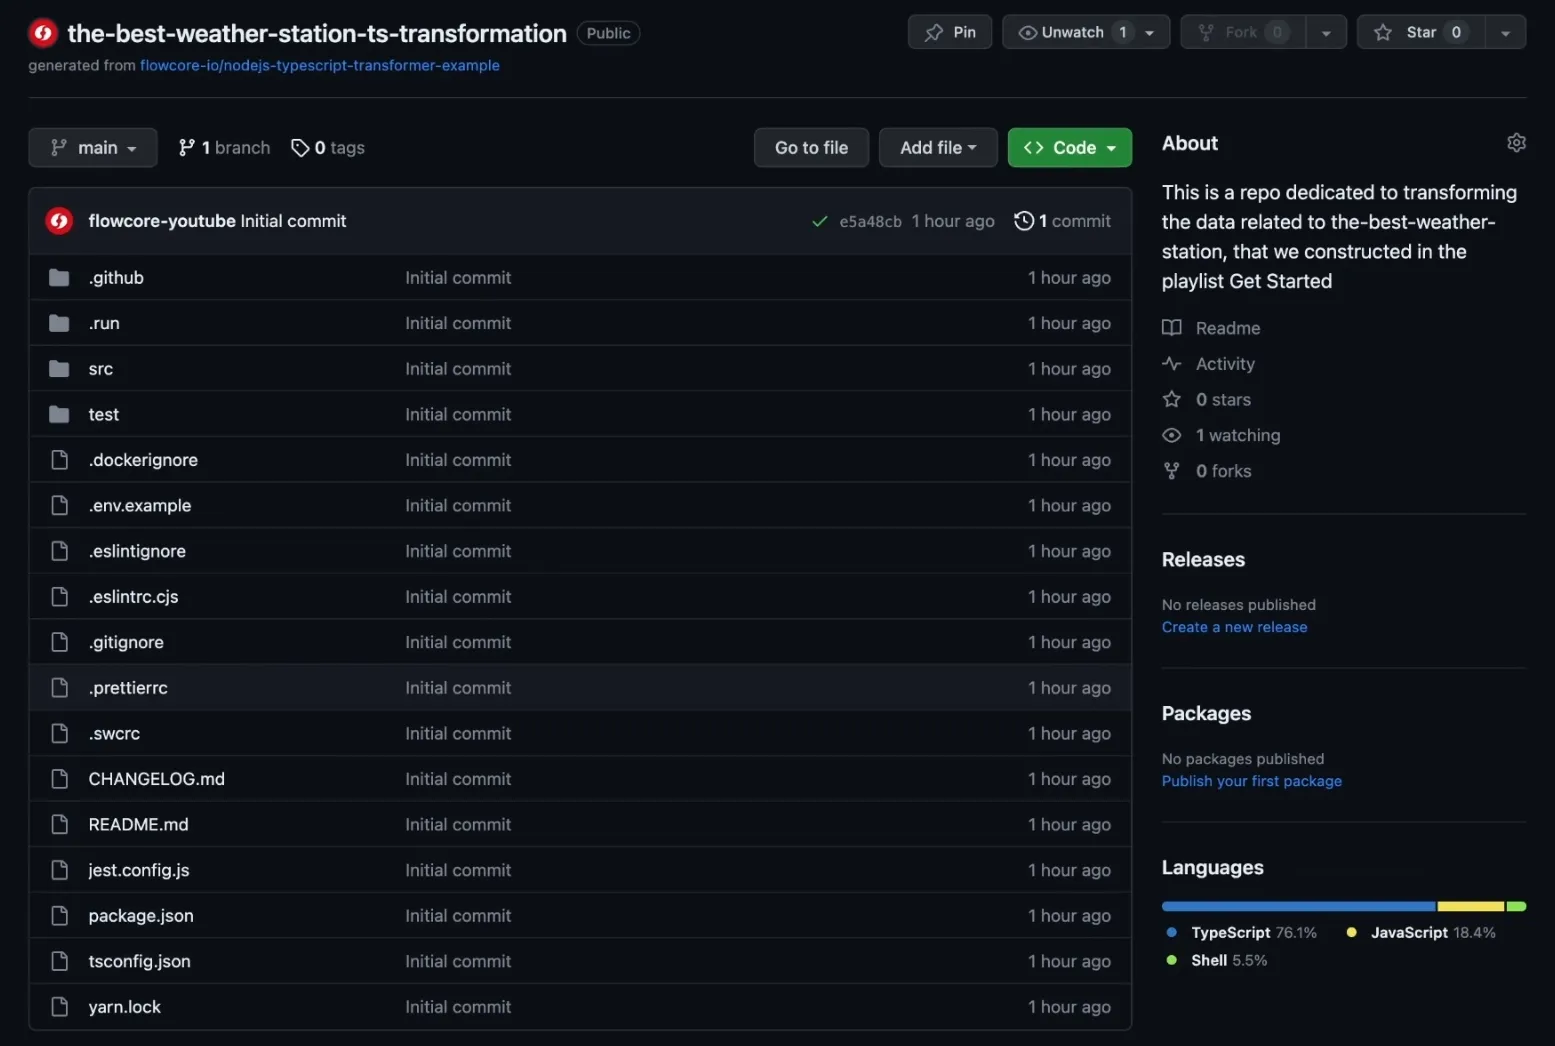
From there you can search for the available templates (such as nodejs-typescript-transformer-example), which you can use to get started. You can of course also make and use your own custom solution, but we will be using the examples we made for simplicity, for this guide. So go ahead and click the typescript template.
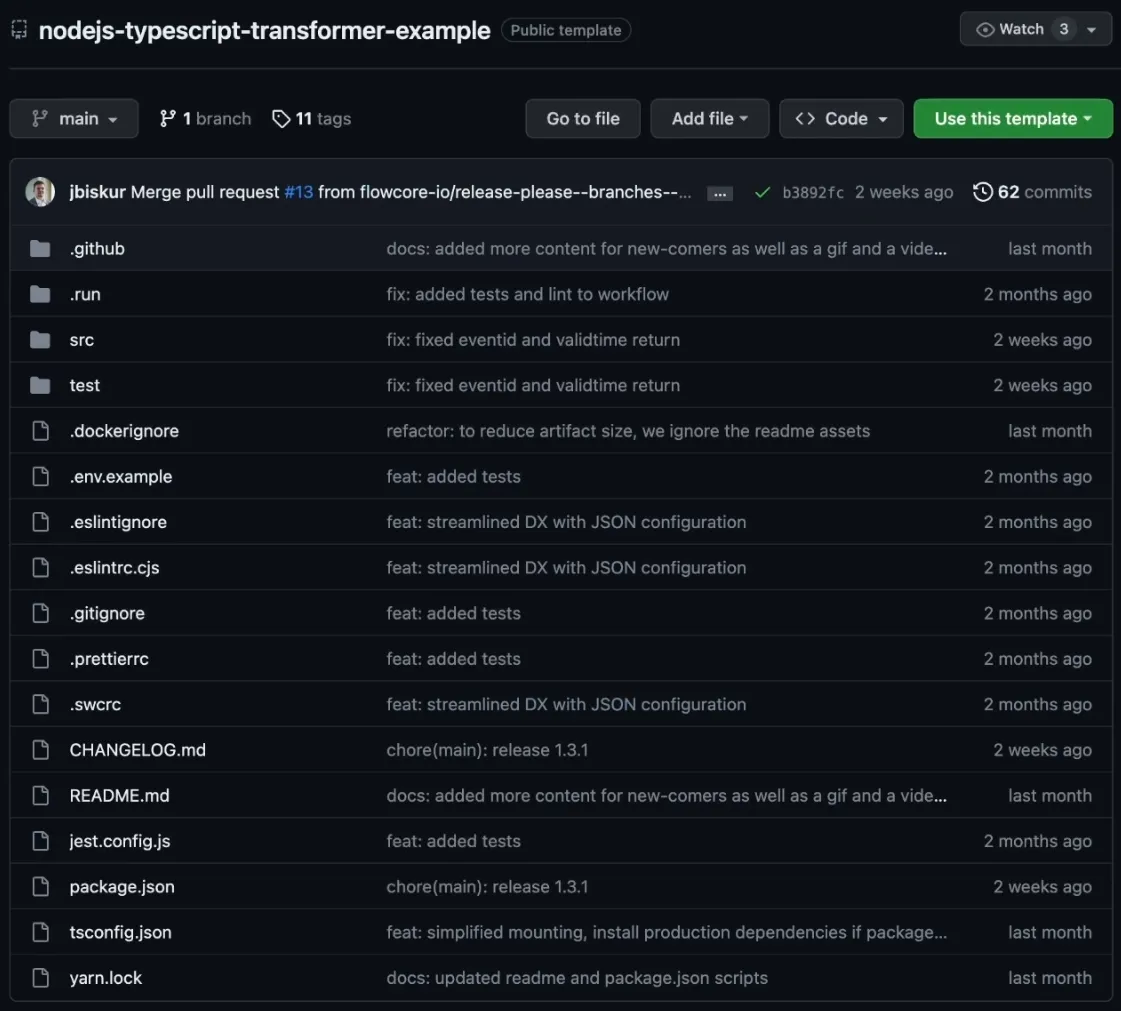
This is all boilerplate code, which we can adjust to our needs. When using this template you create your own repository. This means that all code you use will belong to you and not Flowcore. This puts you in full control of your data, trainsformations and end points.
This is all boilerplate code, which we can adjust to our needs. When using this template you create your own repository. This means that all code you use will belong to you and not Flowcore. This puts you in full control of your data, transformations and endpoints.
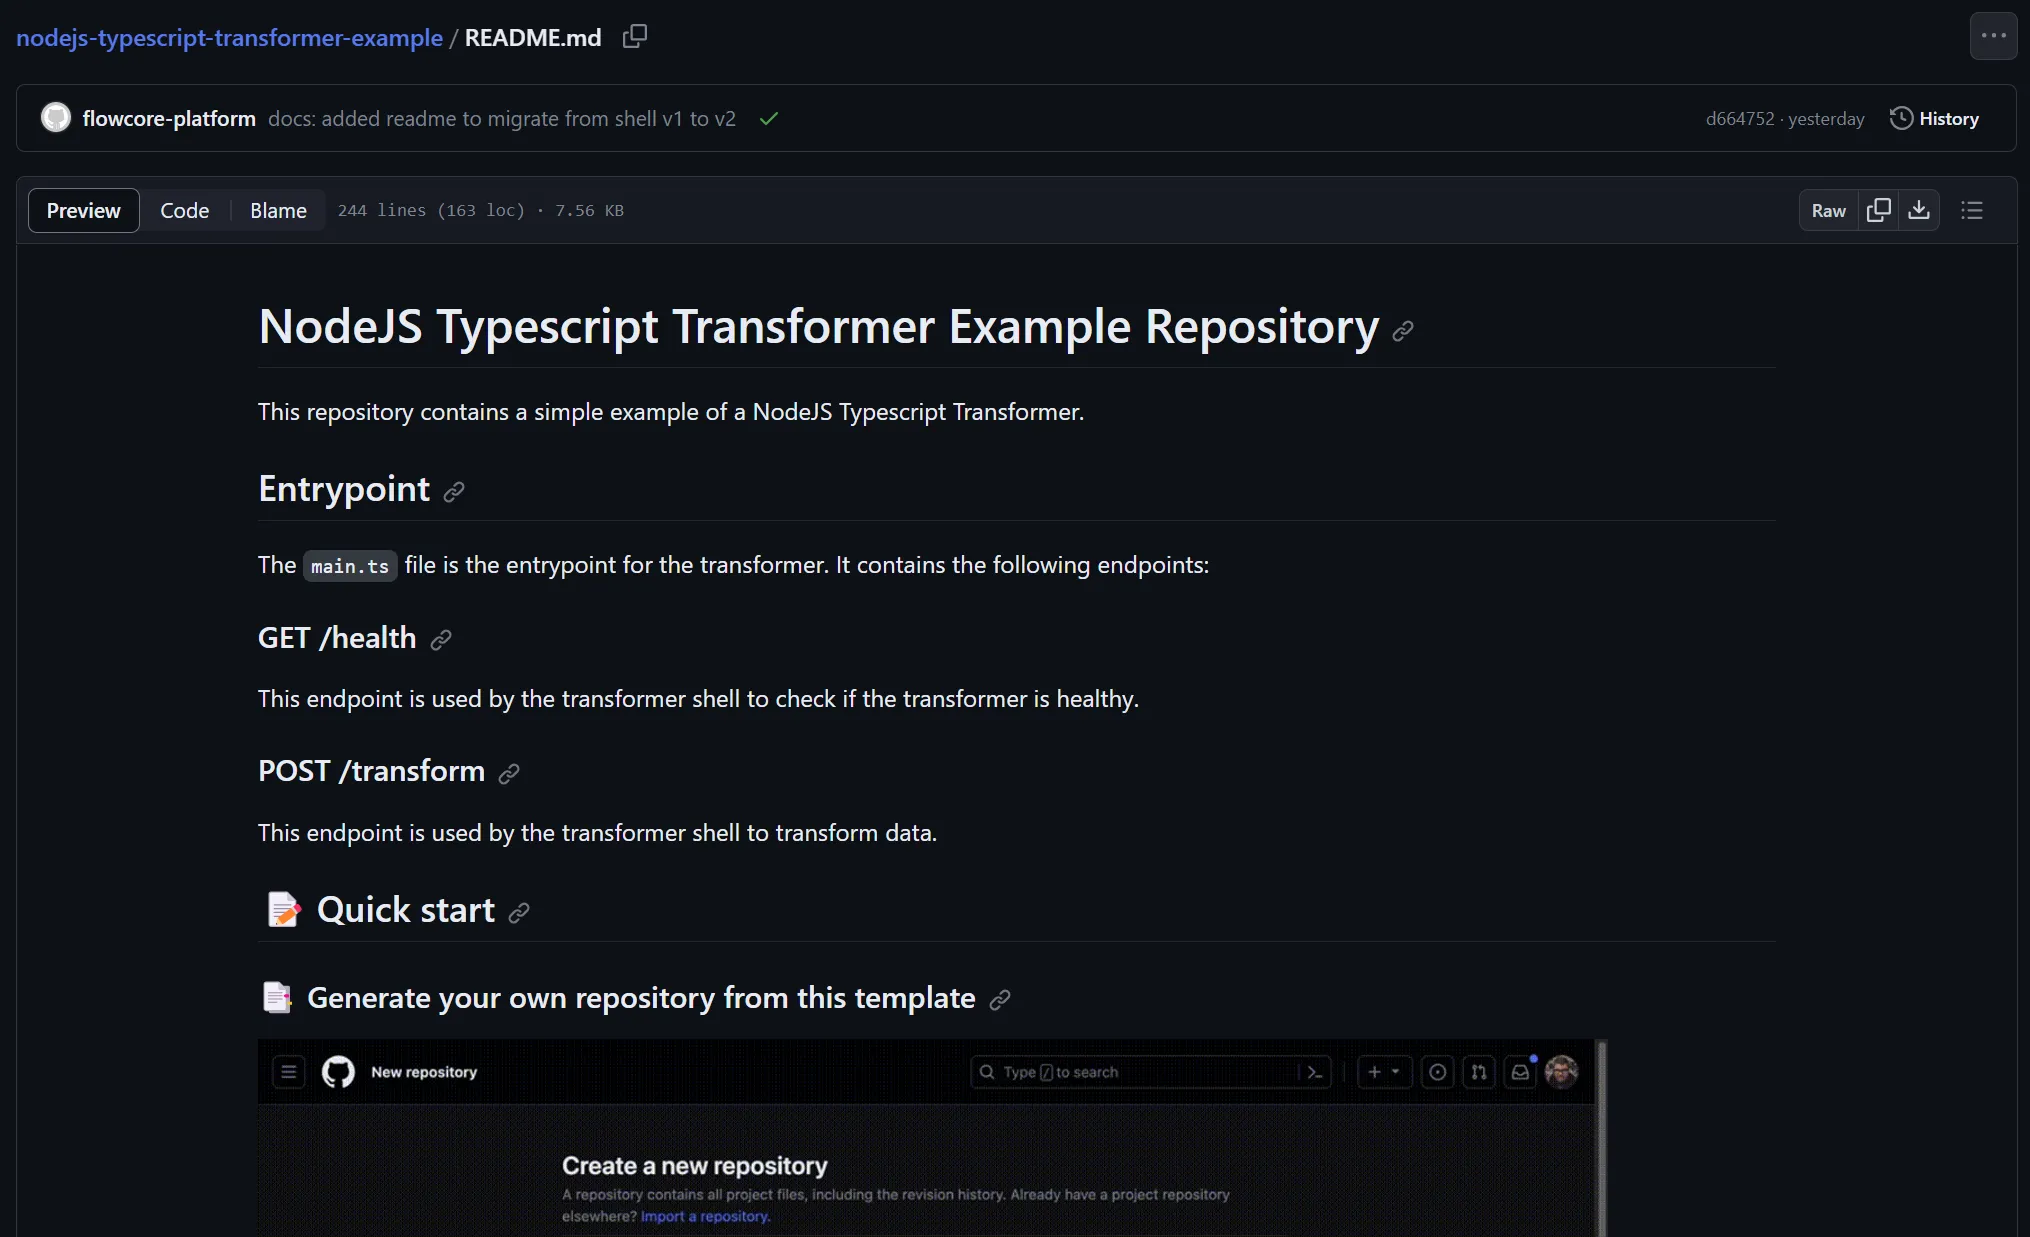
To create your own repository, you can follow this README file, which also has a YouTube tutorial included.
Once you’ve created your own repository based on the template we provided. Make sure to navigate to your repository and press the . key on your keyboard to open the live editor in GitHub.
Then proceed to navigate to the file src/functions/transformer.entrypoint.ts.
For the purpose of this guide, we will demonstrate calculating the difference between the temperature data from the Data Core and the optimal heating temperature within a building. The transformed data will include this calculated value.
So the final code in the transformer.entrypoint.ts file looks like this:
// -----------------------------------------------------------------------------// Purpose: Transform entrypoint// this is the entrypoint that will be called when the transformer is invoked// to transform an event, the return value of this function will be passed to// the read model adapter.// -----------------------------------------------------------------------------interface Input<T = any> {  eventId: string;  validTime: string;  payload: T;}
type Payload = {  temp_c :string;  wind_speed_mps: string;  wind_dir: string;}
const OPTIMAL_HEATING_IN_TEMP = 22.0;
export default async function (input: Input<Payload>) {
  const tempInNumber = parseFloat(input.payload.temp_c);  const distanceBetweenTemps = OPTIMAL_HEATING_IN_TEMP - tempInNumber;
  return {    eventid: input.eventId,    validtime: input.validTime,    ...input.payload,    distance_from_optimal_heating: distanceBetweenTemps  };}
What you need to take away from this code is:
input parameter passed into the function is the unstructured data from the Data Corereturn value of the function is the data that is sent to the read modelEverything else in between there is just the transformation code.
The template has built in unit tests, so that you can verify that your code does what you expect before releasing it.
Navigate to test/expected.json. This file allows you to create a quick and simple test to verify that the expected input returns the expected output.
So in our case, the expected.json file looks like this:
[ { "input": { "temp_c": "-19", "wind_speed_mps": "10", "wind_dir": "west" }, "output": { "eventid": ":uuid:", "validtime": ":date:", "temp_c": "-19", "wind_speed_mps": "10", "wind_dir": "west", "distance_from_optimal_heating": 41 } }, { "input": { "temp_c": "2", "wind_speed_mps": "10", "wind_dir": "east" }, "output": { "eventid": ":uuid:", "validtime": ":date:", "temp_c": "2", "wind_speed_mps": "10", "wind_dir": "east", "distance_from_optimal_heating": 20 } }]As stated in the README file, the template will automatically generate a pull request. Once that has been merged in, the template will start generating your release.

Once you’ve approved every automated build under Pull requests tab, you can go to the Releases on the right hand side of your github page.
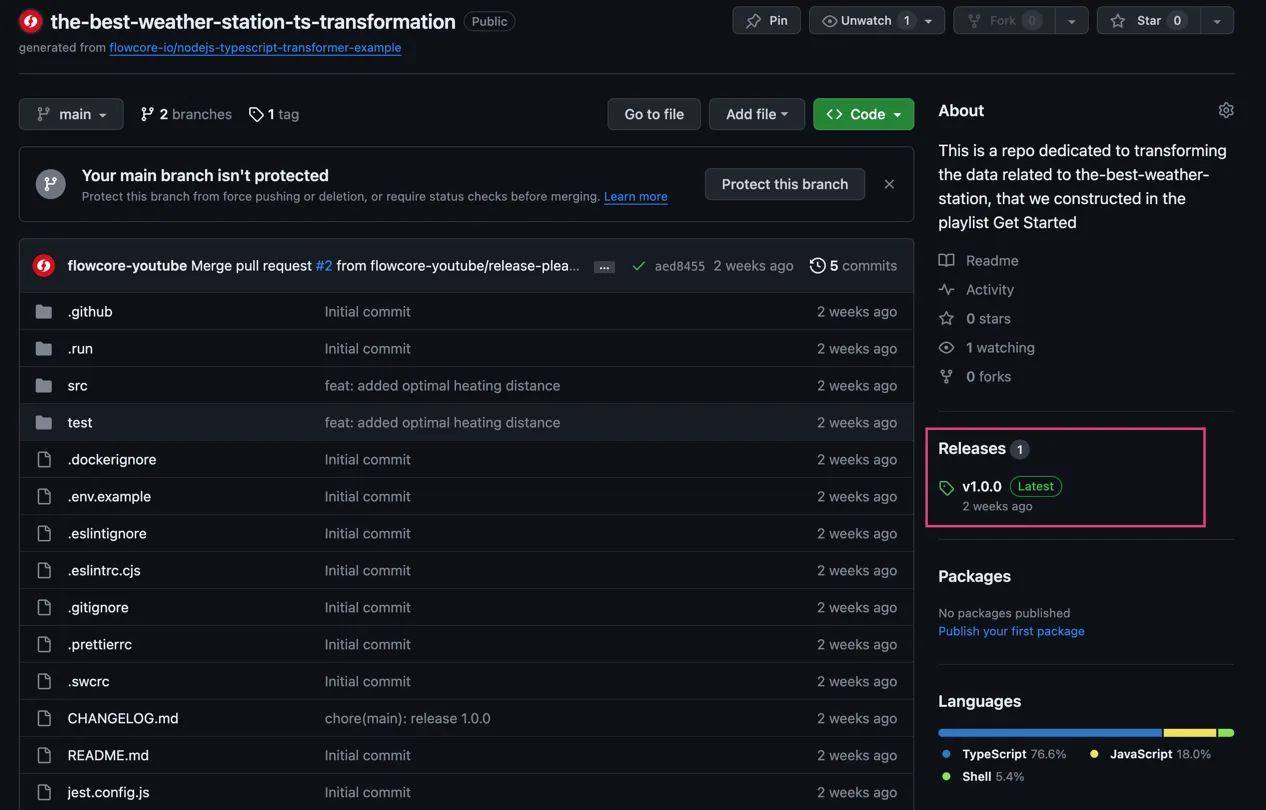
Navigate to your desired release, locate the .zip file, and copy the link to the file. This release serves as the point of integration with the Flowcore platform.
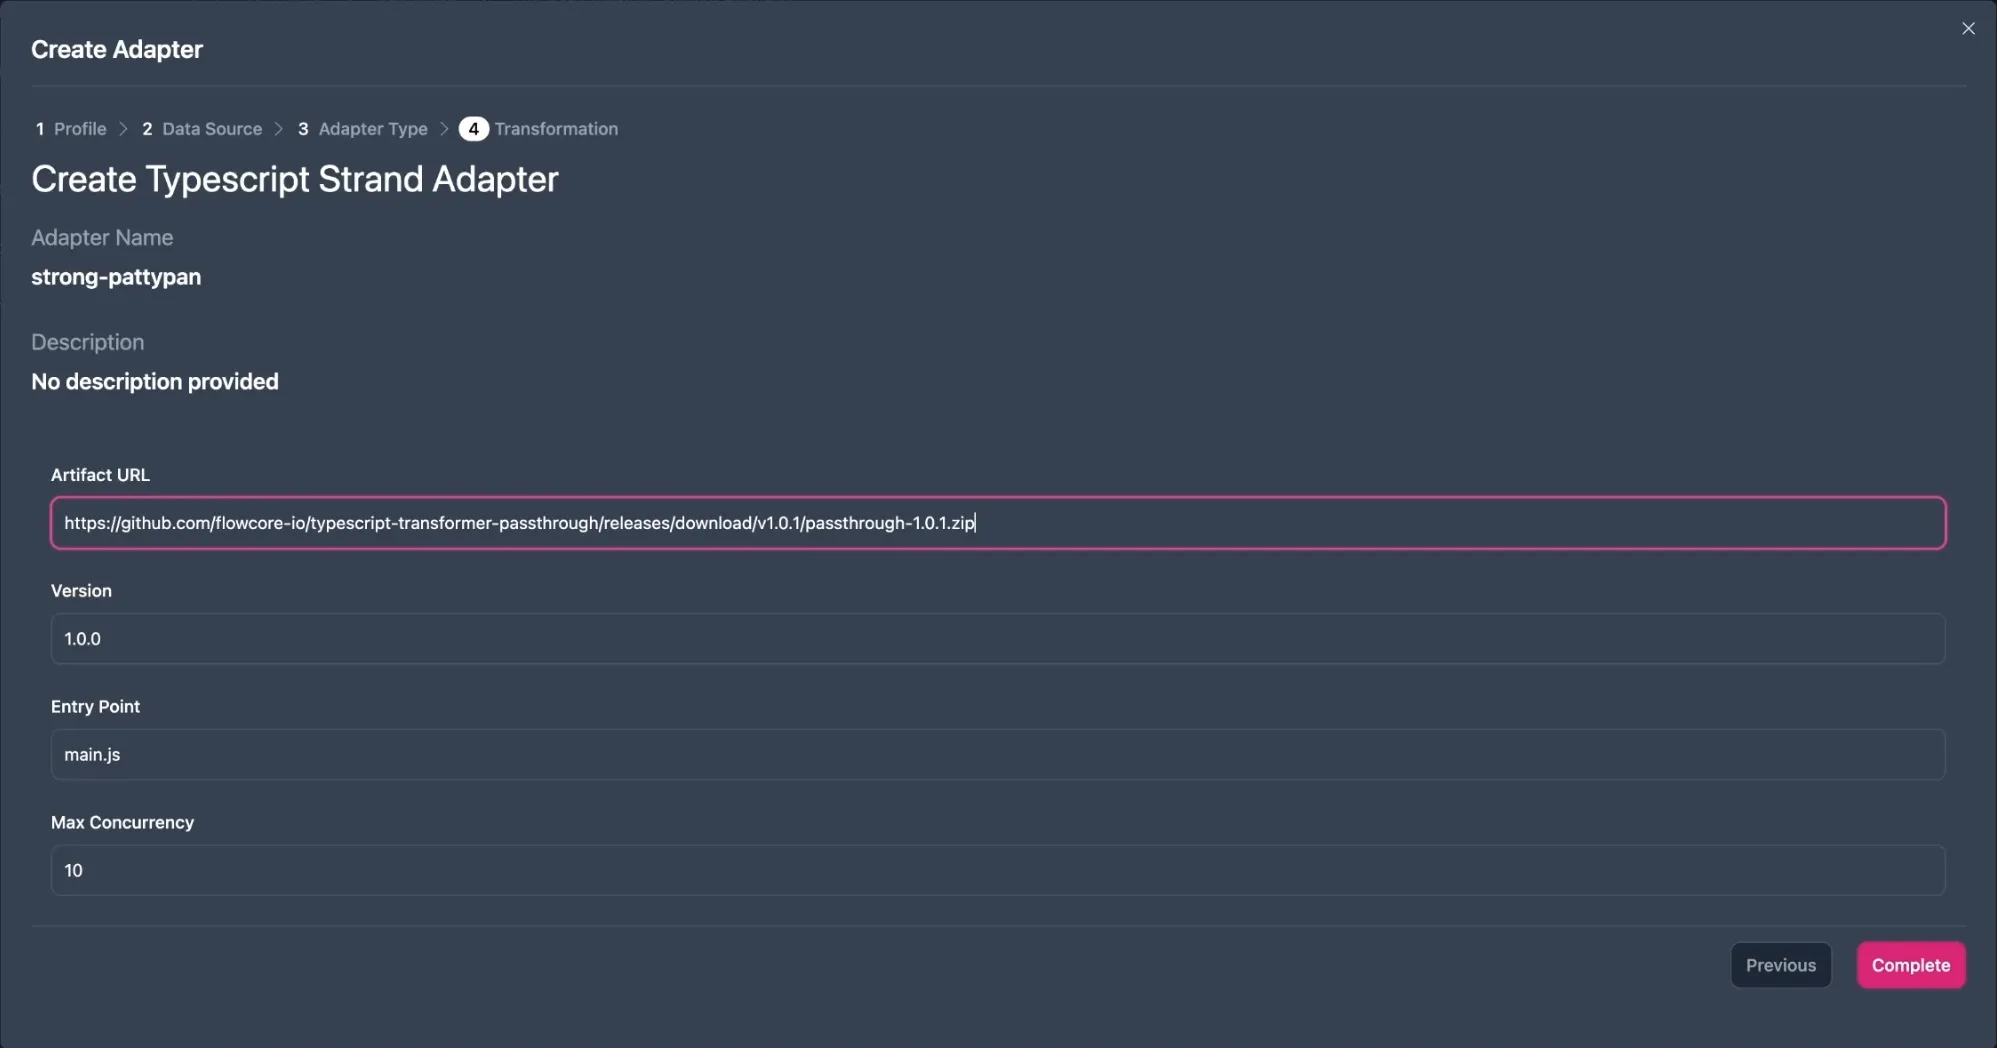
In Flowcore, set up an adapter by configuring the transformation execution environment, specifying the language (TypeScript, in this case).
And finally provide the Artifact URL, which is the link to the .zip file you copied from GitHub.
Complete the adapter settings.
When connecting to a read model, it is important to note that you may need to adjust the Table Definition to accommodate the new data structure. In this example, we added a new field to the data, so we need to update the table definition to include this new field. In our case the read model table definition looks like this in the end:
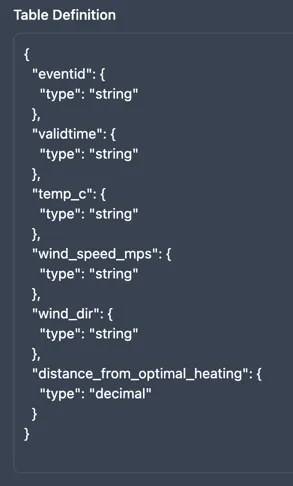
Note that the available types are the following:
Type Description stringA short text, or an ID textA longer text integerA whole number (1,2,3,4) decimalA decimal number (1.2, 123.32, 0.0122) booleanA trueor afalse
The transformation code is now integrated into Flowcore, and as data flows from the Data Core through the adapter, it undergoes the defined transformation process. The transformed data is pushed into the read model, which, in this example, is a database on PlanetScale.
The flexibility of this approach allows you to iterate through the process, making changes to your transformation code or data mapping as needed to achieve the desired outcome. You can add or remove fields, adjust calculations, or even incorporate external data sources into the transformation process.
By following these steps, you can effectively transform data within Flowcore before it reaches the read model, ensuring that it’s structured and enriched according to your specific requirements.